
Every child has that one special blanket, right? From my experience, that special blanket is the one they come home from them hospital with. With my first three children, my favorite baby prep activity was picking out that beautiful, soft blanket, that I knew my sweet baby would fall in love with and cuddle for years to come. It was also my favorite item to pack in my hospital bag. Snuggling new babies in soft blankets…ahhh…there’s nothing better that life has to offer!
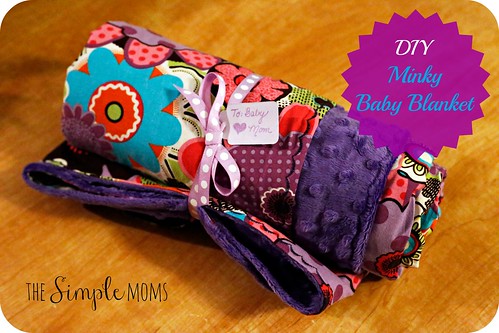
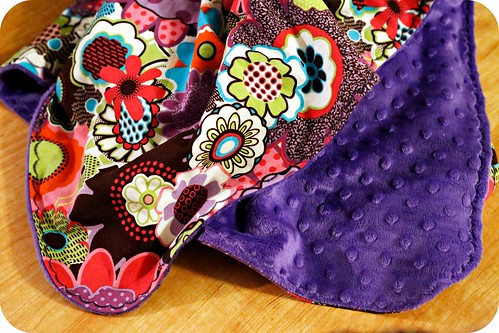
If you caught my original post, countdown to baby :: creative nesting, then you know that I’ve been on a journey to prep for baby number four through some fun diy projects. One of those projects has been to create my sweet babe’s cuddle blanket. I picked out a fun print and paired it with some minky fabric, and have prepared a simple tutorial for you to check out, as well. This blanket tutorial is quite similar to the burp cloth tutorial I put together last week, with a few easy changes. This blanket makes a great gift to give to your own little one, or give to a mom-to-be at her baby shower. Check it out and let me know what you think!
Supplies…
- sewing machine
- fabric scissors or rotary tool
- straight pins
- fabric – cotton or flannel and minky
- coordinating thread
The how to…
- Prepare your fabric. Always wash and dry new fabric. This will ensure your fabric does any shrinking before you sew it. If you sew cotton to minky without washing the fabrics first, like in this blanket tutorial, the fabrics will later shrink at different rates, and thus leave you with a wonky looking blanket.
- Iron your cotton fabric. Prep your fabric with an iron so when you cut your blanket pieces, you will get straight edges to work with.
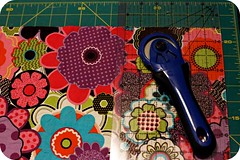
- Cut your fabric. You can choose your own dimensions, but for these blankets, I like to cut my fabric 42″ x 35.” This gives a finished blanket that is just the right size for a baby or toddler.
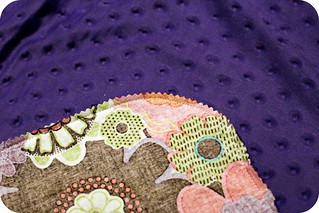
- Place your fabrics right sides together. Decide if you would like your corners squared off or rounded. I prefer to round my corners a bit.
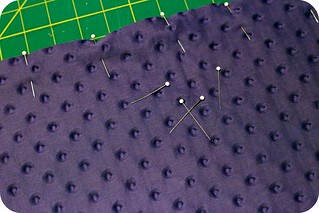
- Pin! Pin! Pin! Did I mention you should pin? Seriously, take my advice on this one. I {almost} never pin my projects these days, except when working with minky fabric. This stuff produces such a great finished product, but let me tell you, it is persnickety! Pin every couple inches along the edges of your fabric to keep this stubborn material from shifting all over.
- Using approximately a 1/2″ seam, start sewing your blanket, starting in the middle of one of the sides. Be sure to backstitch to secure your thread. Sew around your fabric. Leave about a 3-4″ opening through which you will turn your blanket. Backstitch to secure your thread.
- Clip your corners… Trim away extra fabric. If you have pinking shears, use those to trim your corners, otherwise use fabric scissors. Be careful not to cut your thread.
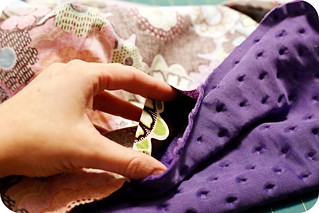
- Turn your blanket.
- Iron. When using minky fabric, be very careful that your iron is not too hot. Minky fabric doesn’t play well with irons. Iron your blanket with the minky side down, and carefully press the edges.
- Top stitch around your blanket. This gives your projects a professionally finished look, and also closes the hole you used to turn your fabric. A regular straight stitch can be used for this, but if your machine has a decorative stitch option, think about trying that out.
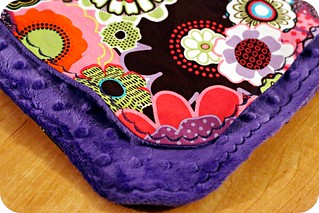
And, there you have it! A beautiful baby blanket that is sure to be a favorite for many years to come!
Do your kiddos have favorite blankets? Or, did you rotate through various styles so they wouldn’t get attached to only one?


Jaime
February 12, 2016 at 6:36 pmOkay this is super cute. I love the edge you put on it. How fun!!
Sarah
February 13, 2016 at 12:17 amThank you! 🙂
Raina DelRio
February 12, 2016 at 8:32 amThanks for posting this! I am already making the burp cloths and I will pair with this to make a great shower gift!
Sarah
February 12, 2016 at 11:02 amGreat! So glad you are enjoying the tutorials! Happy sewing!
Kelynnma
February 12, 2016 at 12:17 amI’ve always wondered how to make these adorable blankets, now I know 🙂
Sarah
February 12, 2016 at 11:04 amYay! The mystery has been solved! And really, they are much easier than they appear to be! 🙂
MaddiesMom
February 11, 2016 at 3:13 pmMy son LOVES blankies!!! I have sewn a few, but I had trouble with the minky wanting to stretch funny.
Sarah
February 11, 2016 at 3:51 pmYes! Minky is such a great fabric for blankets…well…when all is said and done, anyway. The process of getting the minky sewn into an actual blanket, that is tricky. I do everything I can to not have to pin my projects when I sew, but with minky, I go the opposite extreme and pin every couple inches. That crazy fabric has a mind of its own!
Sarah
February 11, 2016 at 3:53 pmOh, and another tip… When you pin minky, start by pinning in the middle of the sides of your blanket. It can even shift when you are pinning, so starting in the middle can help evenly distribute the fabric a bit. Good luck on your next project with minky!
Sarah Hayes
February 11, 2016 at 1:41 pmId love to sew and create more. This blanket is beautiful!
Sarah
February 11, 2016 at 3:48 pmThank you! They are so much fun to make!