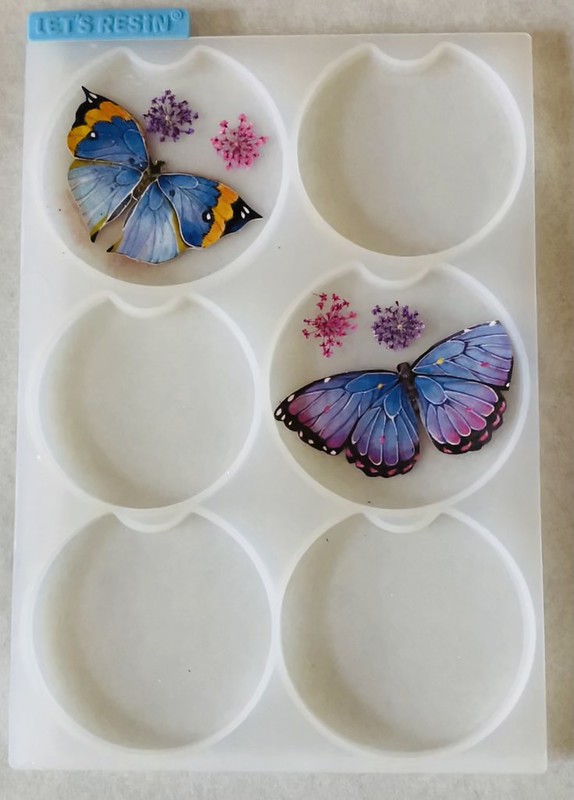
When using epoxy you have to work quickly so I have placed my butterflies and dried flowers in the molds. Whatever you have on the bottom of the mold will become the top when finished. Since you are working with papers they do tend to float to the top, but as long as you keep an eye on them you can always force them back down and the epoxy will level out.
Step 2:: Second you will mix both Let’s Resin Part A and Part B together thoroughly.
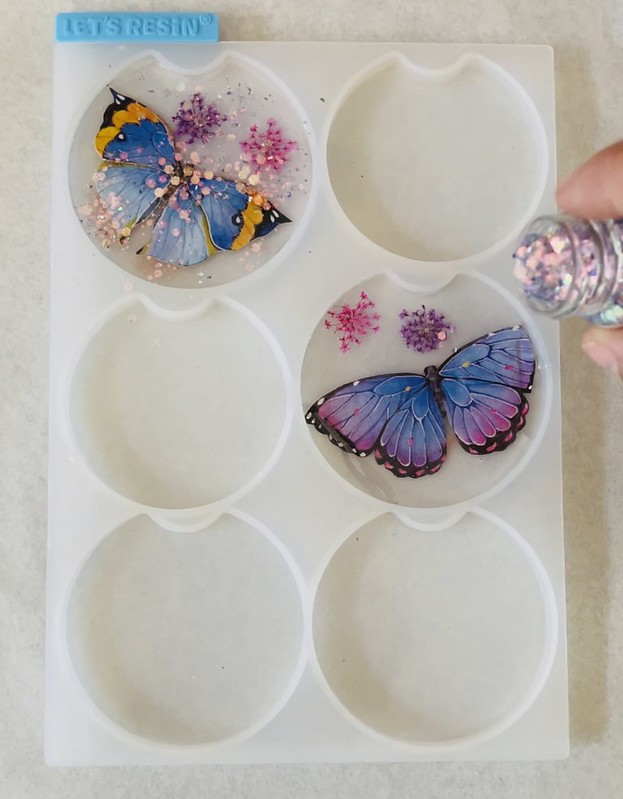
Step 3:: Next you will pour the epoxy into your mold halfway and add your glitter of choice. I am using their Blue Opal Chunky Glitter. You can always use your wooden skewer to move the glitter where you want it to go.
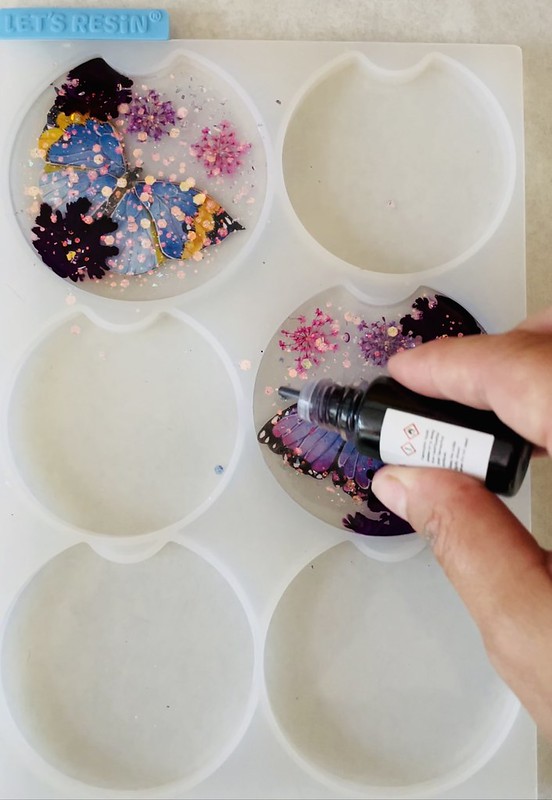
Step 4:: Then I added their Blue Alcohol Ink in three areas and used a wooden skewer to move the ink. Once it settles it will flow into other areas on it’s own.
Now all you have to do is wait for your Butterfly Car Coasters to dry! What a great way to add personalization to your vehicle. I am currently driving a Jeep Rubicon and want to personalize everything so that it stands out among all the rest.
connect with Let’s Resin ::
Official Website | Facebook | Instagram | Pinterest