
We are not particularly handy. I always say, if I can fix it with paint, I can fix it. My husband has a good foundation for small plumbing and electrical jobs. We combined our strengths and decided to give our bathroom an upgrade this past weekend. If we could tackle this project, I think just about anyone can.

Our bathroom sink was so rusted it was leaking into the vanity. We decided to replace not only the sink, but the entire vanity. It was original to our 1985 home and while we did paint it, it was old. To keep it as simple as possible, we bought a vanity that had the counter top and sink put together. We were too intimated to buy a vanity that needed the top installed separately.

Here are a few tips for deciding which vanity to purchase for any bathroom renovation:
- Measure your existing space
- Consider cabinets and drawers opening into doors
- Do you want drawers, cabinets, shelves, etc.
- Search by size, color, and more on the Lowe’s or Home Depot website
- Faucet hardware is sold separately (make sure you get the right style to fit)
- Pay attention to counter heights if you are shorter (our new sink is much higher)
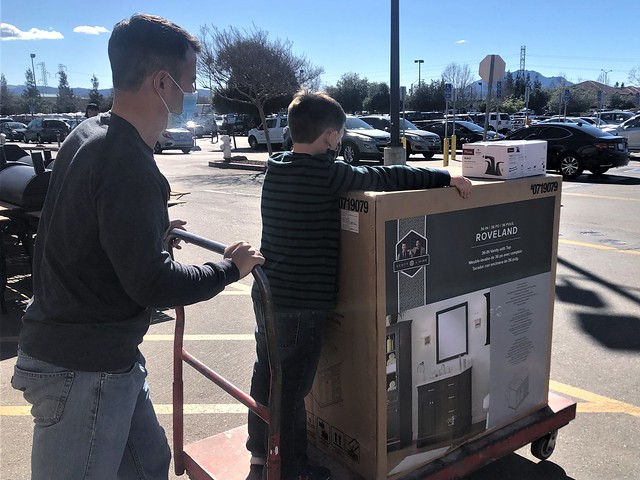
I was thinking a navy vanity with gold fixtures would be cool, but it also felt like it could go out of style like hunter green from the 90’s. We picked out a vanity that we thought we liked online and then headed to our store because it said it was in stock. However, while it was in stock, it was on a shelf 20 feet up and we couldn’t find an associate. Then there was this vanity that we never even saw online that was beautiful and sitting in a box right in front of us. We were pretty spontaneous and spent $300 more then we planned, but it was exactly what we wanted.
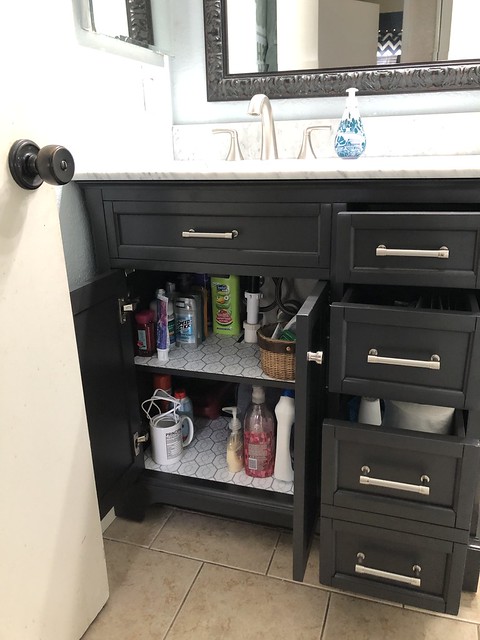
It has cabinets on the left that wouldn’t collide with our door. There are shelves for good space management underneath. There are drawers too. All things we didn’t have in our old vanity. The color is dark grey, but it has navy undertones. It was a less trendy option that we hope will stay in style for the next 20 years.
I wish I had an amazing sale price to brag about, but sometimes it’s good to spend more if you are wanting to do something right. We don’t plan to do anything more with this bathroom so I’m very glad we got the vanity that we both loved.
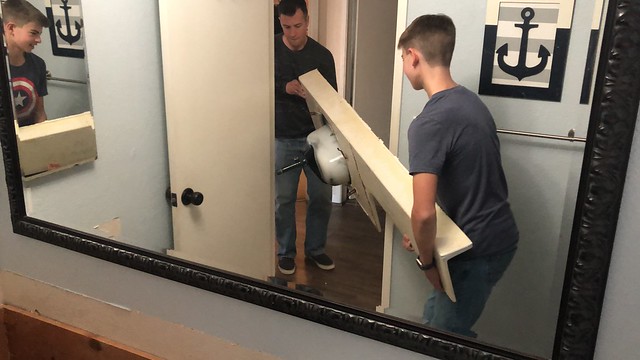
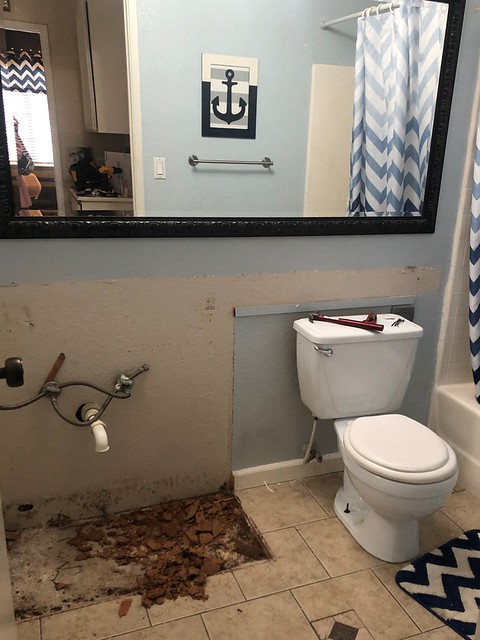
So here is the demo part of this project. Keep in mind, we are not exactly DIY people. We watched a few YouTube videos and got to work. It was pretty simple getting the old seal cut away from the wall and taking out a few nails that held the old vanity to the studs. At this point I knew there was no turning back, but we were excited.
More tips:
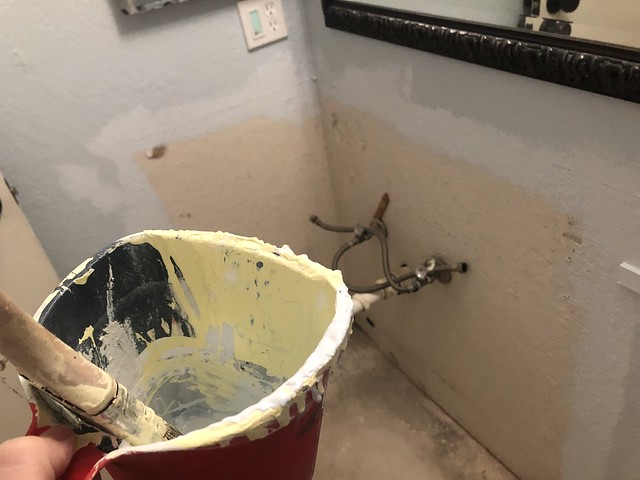
- Clean the space after demo
- Paint while you have access to the walls
- Be patient while the paint dries
- Start unpacking your vanity
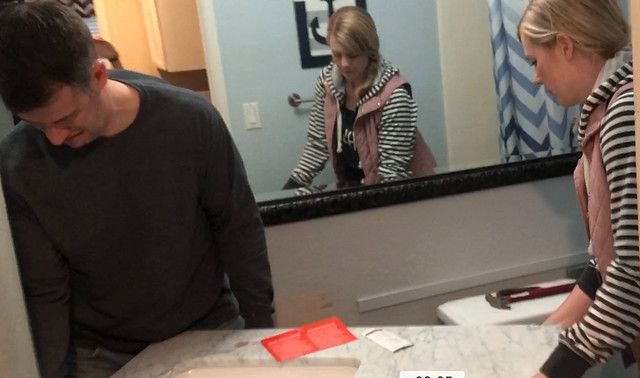
Getting the new vanity into the bathroom took two people, but it wasn’t hard.
The vanity that we purchased had adjustable feet. This was a pleasant surprise because when we took out the old vanity we found out that the flooring wasn’t completed under the vanity. We very easily compensated for one side being lower and got the vanity set very securely before drilling it into a stud.
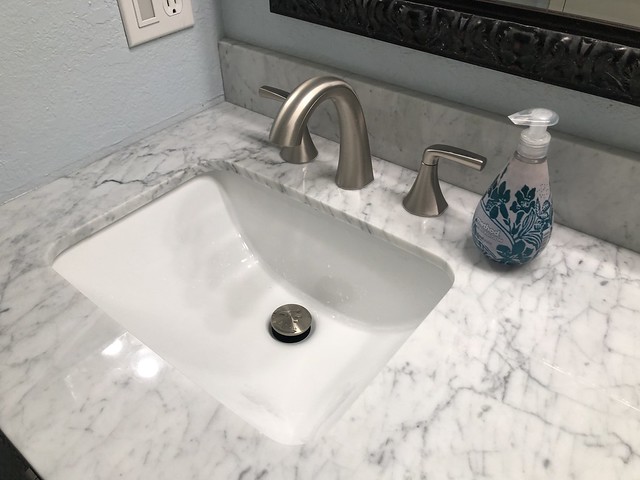
We found a faucet that matched the hardware, towel rack, and light fixture. It felt like all those should be the same color, but I’m not a professional. We didn’t skimp on the cost either. I’ve had too many faucets lose their finish and chip or rust away. I hope this one holds up.

Plumbing changed a bit because this vanity was higher. My husband figured it out, but that was an additional trip to Lowe’s.
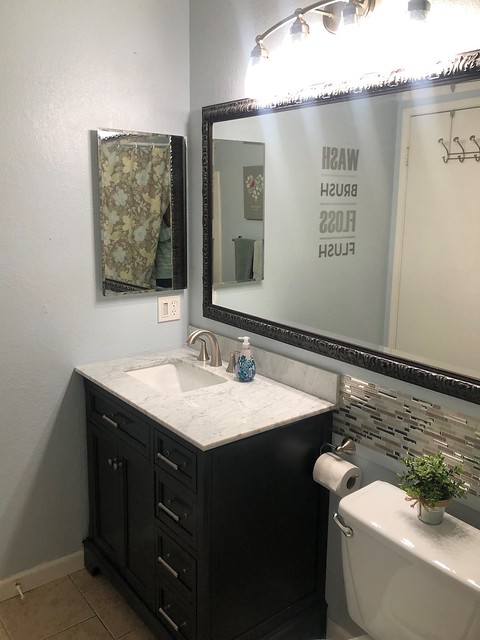
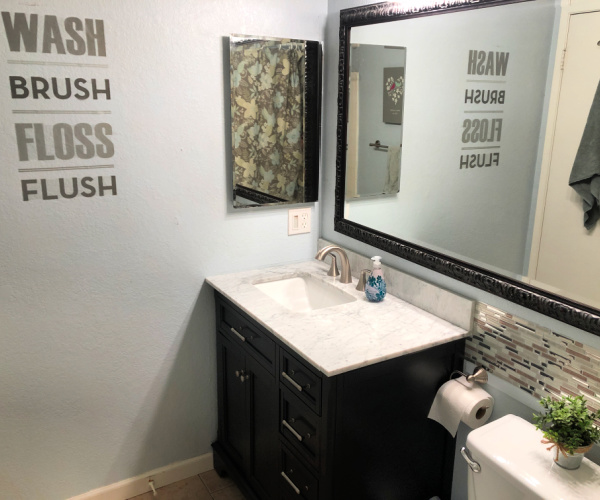
We swapped out an old gold fixture from the 80’s for this 4 bulb fixture from Lowe’s. It’s the only light in the bathroom so we wanted a big one over our large mirror. Speaking of that mirror. It was a free find and while it’s huge, it’s nice when we have multiple people getting ready in the bathroom. I’m happy for how it functions for our space.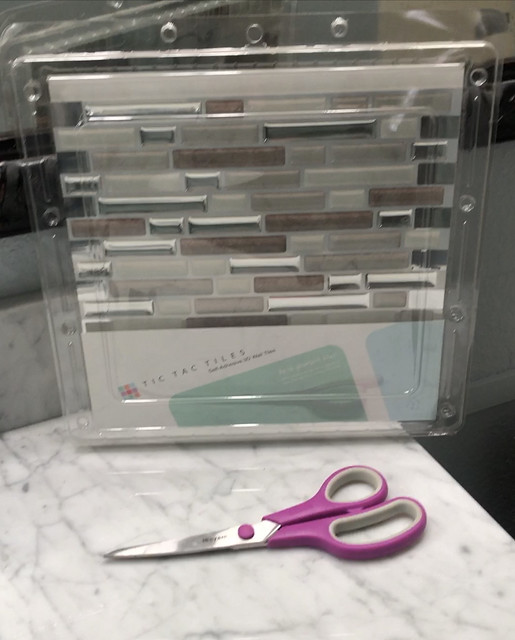
This is our new and improved bathroom. I’m thrilled with how the space turned out. Do you remember the Tic Tac Tiles I put in our kitchen? They look great in our bathroom too. They have held up great in my kitchen. I’m hopeful they can withstand the steamy bathroom, but they claim they can. The space above our toilet was counter top previously so I had to figure out how to fix that wall. Thank you Tic Tac Tiles for looking cool and covering a messy wall.
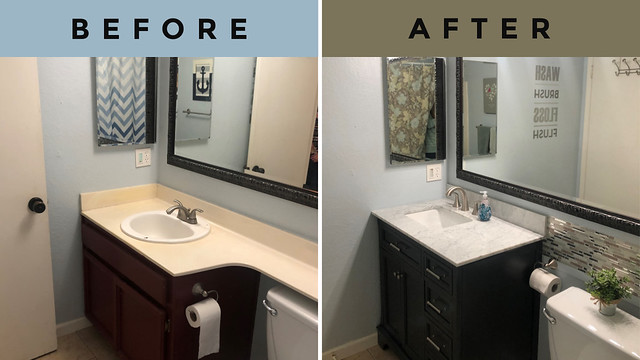
I hope this post inspires you to tackle a similar project. This bathroom update took about 6 hours (paint drying time included). It’s wonderful how easy it is to work with the all in one vanities you can buy now.

Shay
March 12, 2021 at 9:11 amLove the remodel Ginny! It’s almost impossible to get my husband to do any plumbing.
Ginny
April 29, 2021 at 12:51 amThanks Shay! I am thankful he’s willing. I know nothing about plumbing.