
I’m really enjoying this cooler weather. My daughter stole my pumpkin patch after I made it! It’s impossible to decorate my house between my children and sales! As soon as I post a creation I have someone asking to buy it! That’s totally okay with me it makes me feel like I’m contributing. I enjoy creating and recycling everything around my house and shop instead of going out and buying new things. Pallet wood has been my choice of media for some time now since my husband has a heating and air conditioning business. He’s always bringing me home pallet wood to play with! Since I’ve hurt my arm I haven’t been able to disassemble the pallets like I need to. Instead I’m just using all the wood that I have disassembled or leftover pieces from other projects.
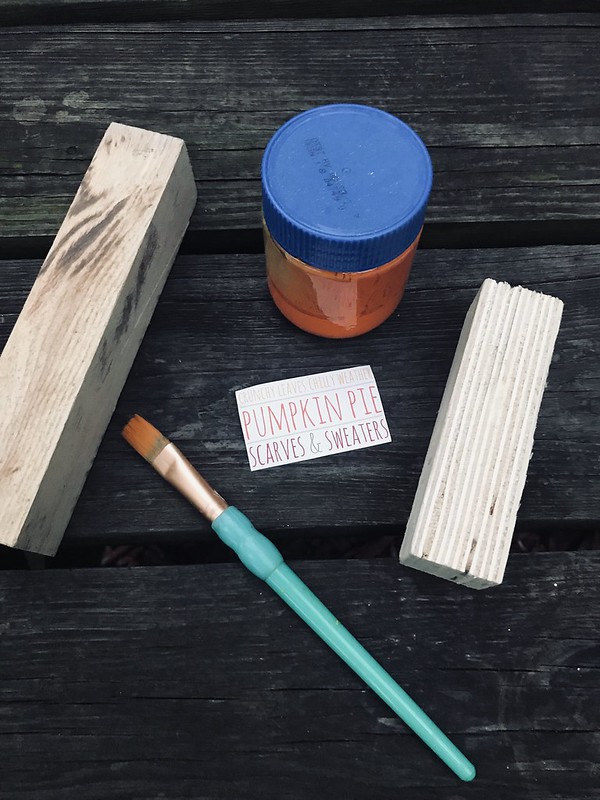
Supplies ::
- 2′ x 2′ wood
- Miter Saw
- Acrylic paint {orange and contrasting color}
- Paintbrush
- Clear varnish
Step 1 :: First you will need to cut your wood into four different sizes. Mine are on the smaller size 5, 4, 3 and 2 inches in height.
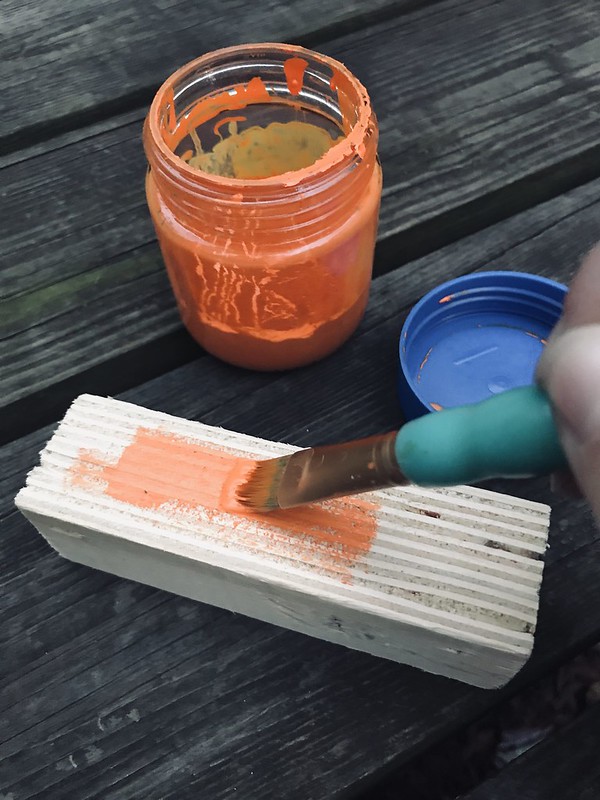
Step 2 :: Next paint your your blocks orange. Once they dry draw your designs onto your blocks and paint them using your contrasting color. I chose yellow as my contrasting color. Yellow is one of the colors in the stages of a pumpkin and it just happens to look great with the color orange.
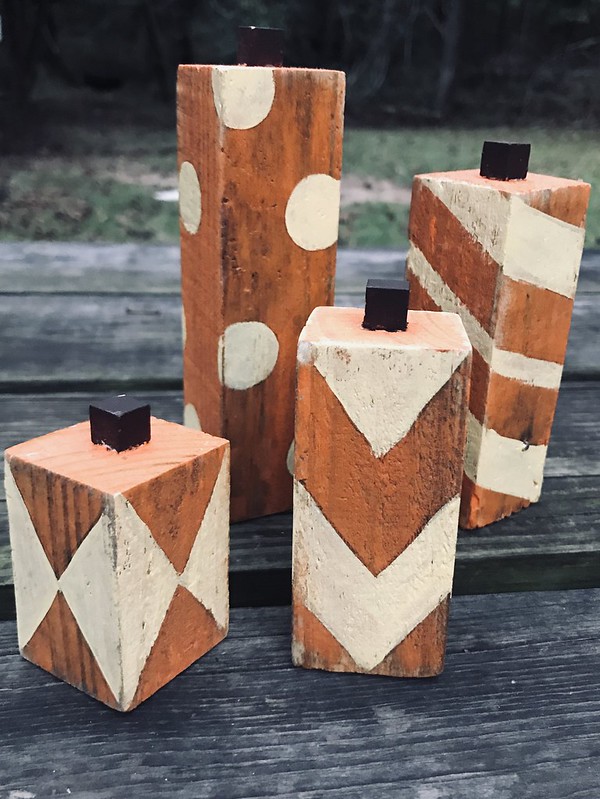
Step 3 :: Finally for the tops of the pumpkins I used math manipulatives, but you could use anything you want. Check out my DIY Fall Pumpkins for other ideas. Math manipulatives are half-inch square blocks my students use to learn to count with.
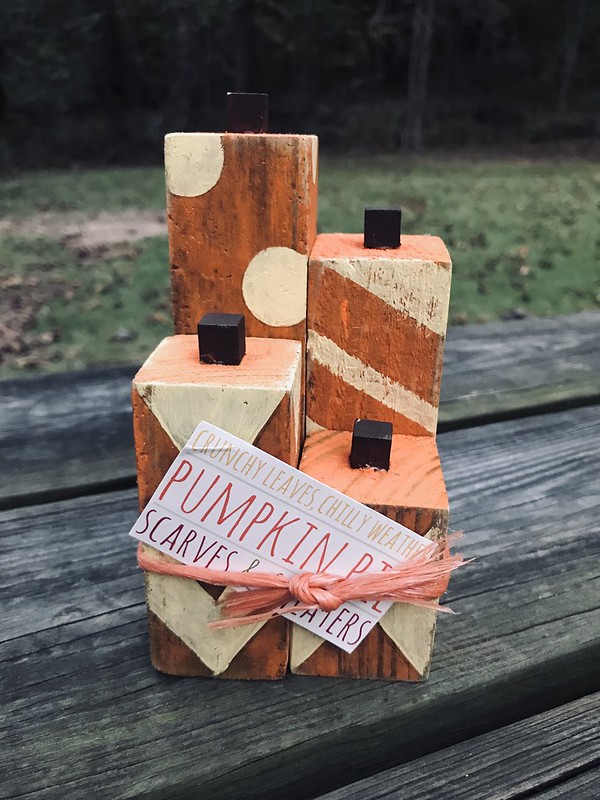
Make sure to spray your pumpkin patch with a clear varnish so they last for years to come!
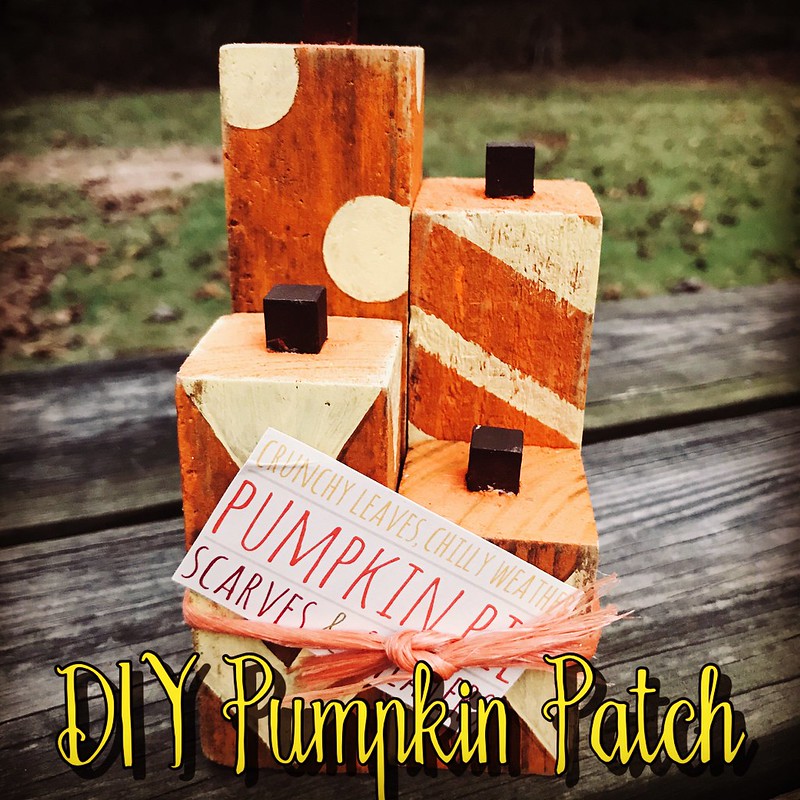
Would you decorate your home with this cute little DIY Pumpkin Patch?
Theresa
November 15, 2018 at 7:23 pmWhat a cute idea!