
Life is better with sparkle! That is a statement I stand firm on! There’s just something magical about things that sparkle. Being quite a crafty person, and shameless lover of glitter, every so often, I find the need to make an ordinary object sparkle and shine. This weekend, we are hosting a couple Christmas parties in our home. I really wanted to add a couple more decor pieces to help add cheer to my kitchen and dining room, but I didn’t want to spend a bunch of money on trinkets, either. As a huge fan of DIY projects, I figured it was probably time I created something to give our space a personal touch, and nothing says cheer quite like glitter!
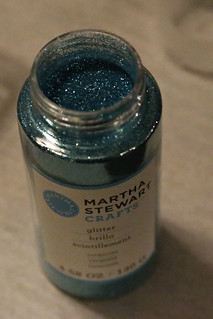
After loading my kids in the car and running to the store for a few supplies, I was ready to jump into this fun project. My votive holders were from the local dollar store, and cost $5. I had a coupon for 40% off at Michael’s and picked up the glitter for around $6. I already had the lacquer and Mod Podge on hand, but those generally run about $5 each. The project cost me around $20 and I’ve got lots of glitter, Mod Podge and almost a full can of lacquer left over. That’s a win in my book! If you wanted to make this project even more thrifty, you could use mason jars or other recycled glass containers. Either would be super cute!
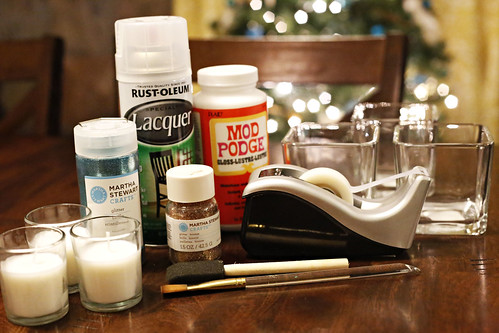
Supplies:
- glass votive holders
- Mod Podge
- paint brush or foam brush
- tape
- glitter, fine works best
- spray on lacquer
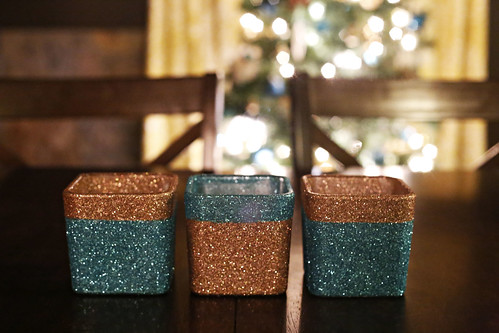
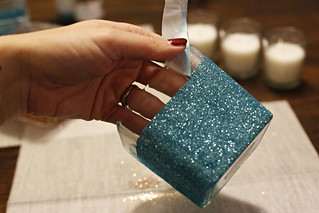
Step 1: Decide on a design for your votives and tape off your pattern. I decided on alternating colors with a thin strip at the top of each votive.
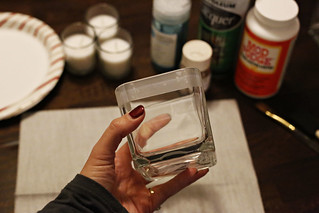
Step 2: Apply Mod Podge to glass. Overlap the tape slightly, but be careful not to let it get too think.
Step 3: Sprinkle glitter onto Mod Podge. Be generous with the glitter. Catch the excess glitter on a paper plate. You can pour this back into the container later. No need to waste all that beautiful sparkle!
Step 4: After a couple minutes, the Mod Podge should be dry. Carefully remove tape.
Step 5: Brush Mod Podge onto remaining glass area, being careful not to get Mod Podge on dried glitter.
Step 6: Cover with second glitter color.
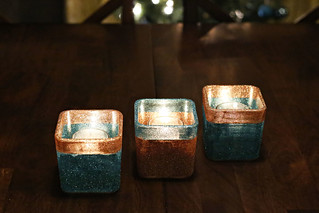
Step 7: After Mod Podge is dry, apply lacquer to votives. This is best done outside or in a well ventilated area. Lacquer is strong smelling stuff!
Step 8: Once your votives are dry, add some candles and enjoy your fancy new decor!
Start to finish, including clean up time, but not drying time, this project took me a total of one hour. Perfect for a quick craft fix!
Have you tried glittering anything before? What was it?How did it turn out? Any tips and tricks you can share?


Maryann D.
December 25, 2015 at 8:37 amI love things that sparkle also! This is a wonderful craft. My daughter is the artist and craft person, so she would enjoy making these.
Robin
December 23, 2015 at 1:06 pmThose are really pretty! I used to use glitter all the time. But no matter how hard I tried it seemed like I would end up with a little bit of glitter that would make it’s way inside and then everywhere! LOL! And glitter can be really hard to get up…at least for me. But I love those so it might be time to break out my glitter stash again.
Sarah
December 30, 2015 at 3:03 pmThank you! When you glitter a project, do you usually seal it after it’s finished? I have found that is the golden ticket for me, otherwise glitter gets everywhere! I mean, I love glitter, but there are some places where it really shouldn’t migrate to! Haha!