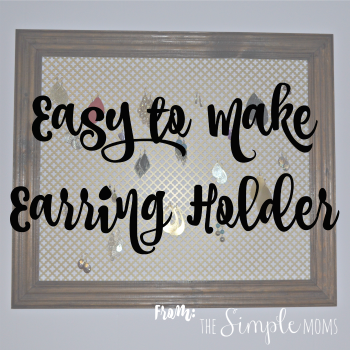
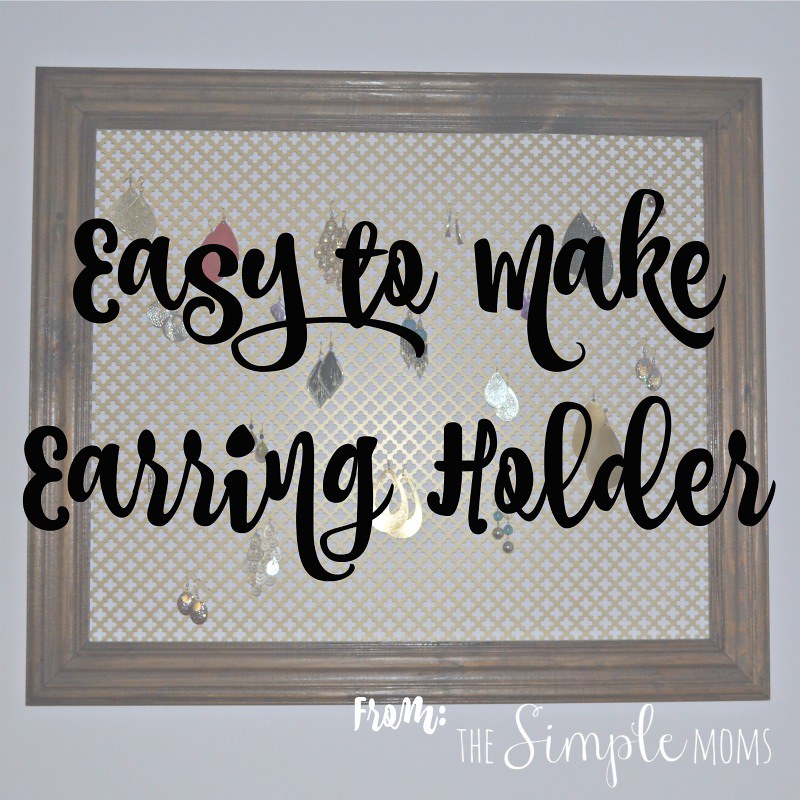
One of the joys of buying a house is that sometimes the previous owners will leave behind various… let’s call them “treasures.” This summer we finalized the purchase of my family’s centennial farmhouse and with this came multiple generations of items that have been long forgotten. While we will gladly be getting rid of some of the stuff we have discovered other pieces can easily be used with a little bit of a creative mind. With a stack of old frames to work with I decided that an earring holder was the perfect easy project to not only re-purpose one of our “treasures” but to also add some organization to my earring collection.
Needed Supplies ::
- Wooden Frame
- Decorative Radiator Cover – available at your local home improvement store or online
- Picture Hangers – 2
- Wood Stain
Needed Tools ::
- Disposable Gloves
- Rags – for applying stain
- Tin Snips
- Staple Gun
- Hammer
- Tape Measure or Yardstick
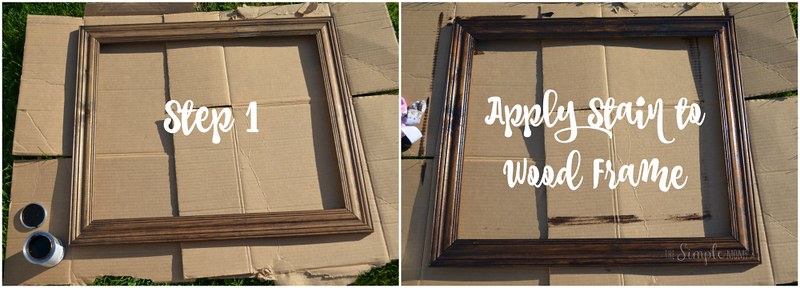
1) Use a cloth to wipe down your frame from any dust or dirt. Apply stain to the wood frame using a clean rag and wearing the disposable gloves (to save your hands!). If you want a less rustic look you can easily paint the frame as well. For this project I had an old wooden frame that had been possibly stained at some point and a single coat of espresso colored wood stain was perfect to achieve the look I desired. Allow to dry.
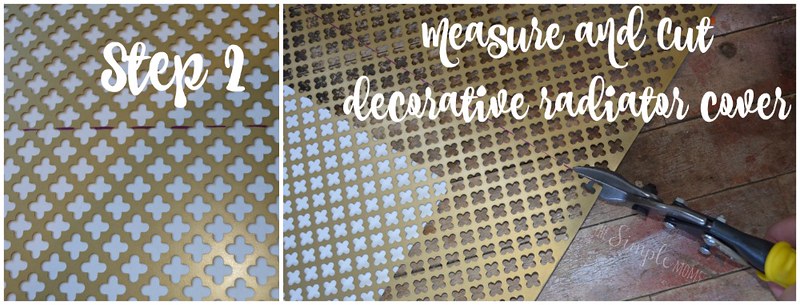
2) Once the stain is dry you will need to measure and cut the decorative radiator cover to fit the frame. For the best guess of size I went used an approximation of the space that was about halfway though the width of the frame on one side to the same approximate space on the other side of the frame. Once I had my measurements I used a yardstick and a marker to draw the lines I needed to cut with my tin snips. Do NOT use regular scissor to cut the metal as you will probably harm yourself and/or completely ruin your scissors.
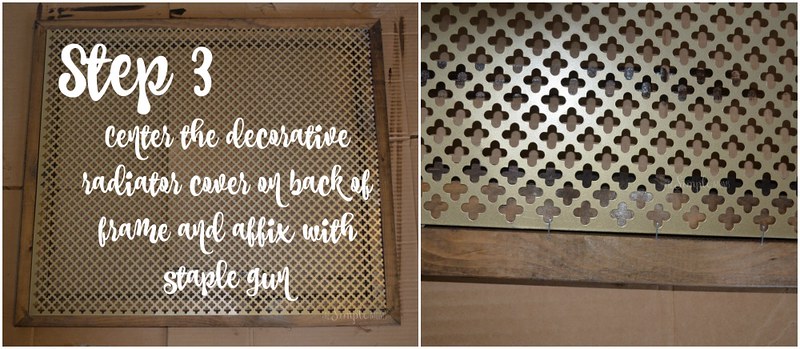
3) Use the staple gun to securely affix the cut piece of decorative radiator cover to the back of the frame.
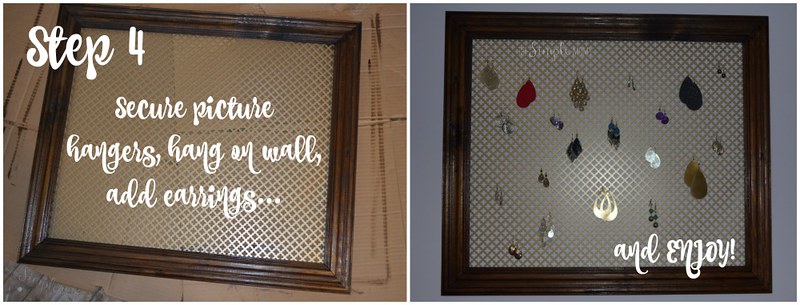
4) There are multiple types of picture hangers that you can use. Pick whatever ones you prefer and secure two of them to the back of the frame towards the outer top corners, I used triangle hangers. Two hangers will keep the frame from tipping once you have added the weight of the earrings (which will unbalance the earring holder if you only have one hanger). Hang the earring holder on your wall, add your earring collection, and enjoy!
I love this idea, would make finding my earrings a lot easier.!
This looks very nice and easy to do. Very creative idea!
Very creative! It looks like a piece of art!
Great homemade gift for Christmas bazaars and gifts! I like the visual instructions!
I have been needing something like this.
Thanks for the directions!
Glad you liked it Barbara! Post a picture on our Facebook page if you end up making this so we can see your final production!
Brilliant! I’ve been wanting to make something like this for my Annabelle’s many hair bows. I’m gonna do it! Hold me to it! Haha
Ginny… did you make your holder for Annabelle’s bows yet? 😉 HA!
This is so pretty! You really are good at making things. I really like this earring holder and this would be good for me to make for my earring collection.
Thanks Karen! It really was extremely easy to make and only took less than $40 in supplies (besides for what I already had on hand). Share a picture if you decide to make one yourself!
This is really a great idea and a fun craft. I do like the finished product and it is very useful.
Thanks Maryann! It was extremely easy to make as well and I felt so accomplished after very little effort. HA!