Love is in the air, ladies! Valentine’s Day is just weeks away!! Sure, we’re still stepping on pine needles from the Christmas tree and we may still have a few strings of Christmas lights up outside (which will probably stay there until April), but it’s time to shift our thinking towards hearts and cupid and all things lovey-dovey!
This year, while the kids were off from school for the holiday break, we did some much-needed cleaning and organizing and ended up finding an obscene amount of broken crayon bits and pieces around the house. Normally we’d just toss them back into the crayon bag and keep using them but this year I decided to give the ol’ bag a clean-out and repurpose all those crayon bits into a Valentine’s project!
Crayon Hearts for Valentine’s Day
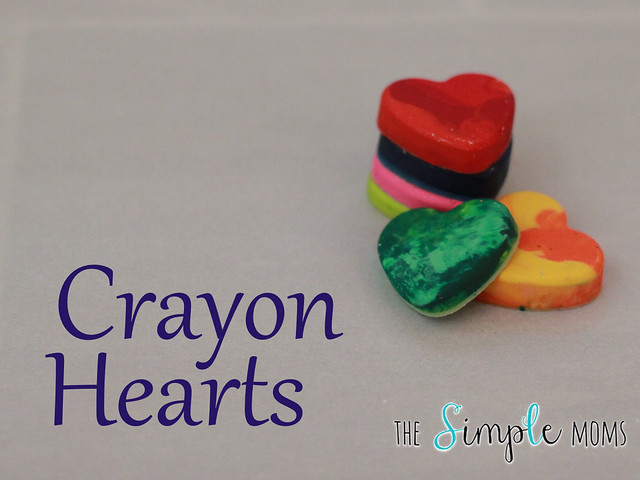
This is a super easy project and perfect for enlisting the kids’ help, especially on a snowy/cold day!
Items you’ll need…
Broken crayons :: you could also use non-broken crayons if you need to
Silicon heart mold :: you can find this at your local craft store
Plastic bags :: again, craft store
Oven preheated to 225°F
Baking sheet
To get started…
- Peel the labels off the crayons and sort by colors. If you want your hearts to be multi-colored, skip the sorting. We sorted ours in general colors — greens, blues, purples, reds/pinks, etc.
- Break up the crayons, if needed, into pieces that will fit in your heart mold.
- Fill the molds with your crayon bits. The more you fill the molds, the bigger the crayons will be.
- Place the filled silicon mold on a baking sheet and place in an oven preheated to 225° for 15 to 20 minutes or until your crayons are completely melted.
- Carefully remove the pan, being super careful not to splash the melted wax everywhere. Let them completely cool. No, seriously. Back away. Have a nice cup of coffee or nap. You do not want to be messing with these while the wax is still warm.
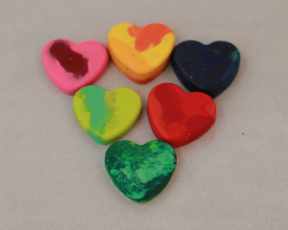
- Once cool (And I mean really cool!), flip your mold over and pop those little hearts right out! Aren’t they pretty?!?!
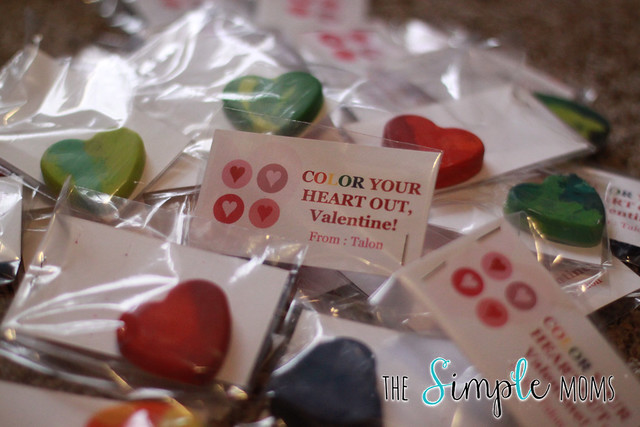
We put our heart crayons in little plastic bags that we found in the baking aisle of the craft store with a cute little card that we printed. You can also add in a Valentine’s card that you bought or use a little sticky label on the bag. However you want to personalize it 🙂
Then either staple or tie shut the bags and send them off to school with your little Valentine!