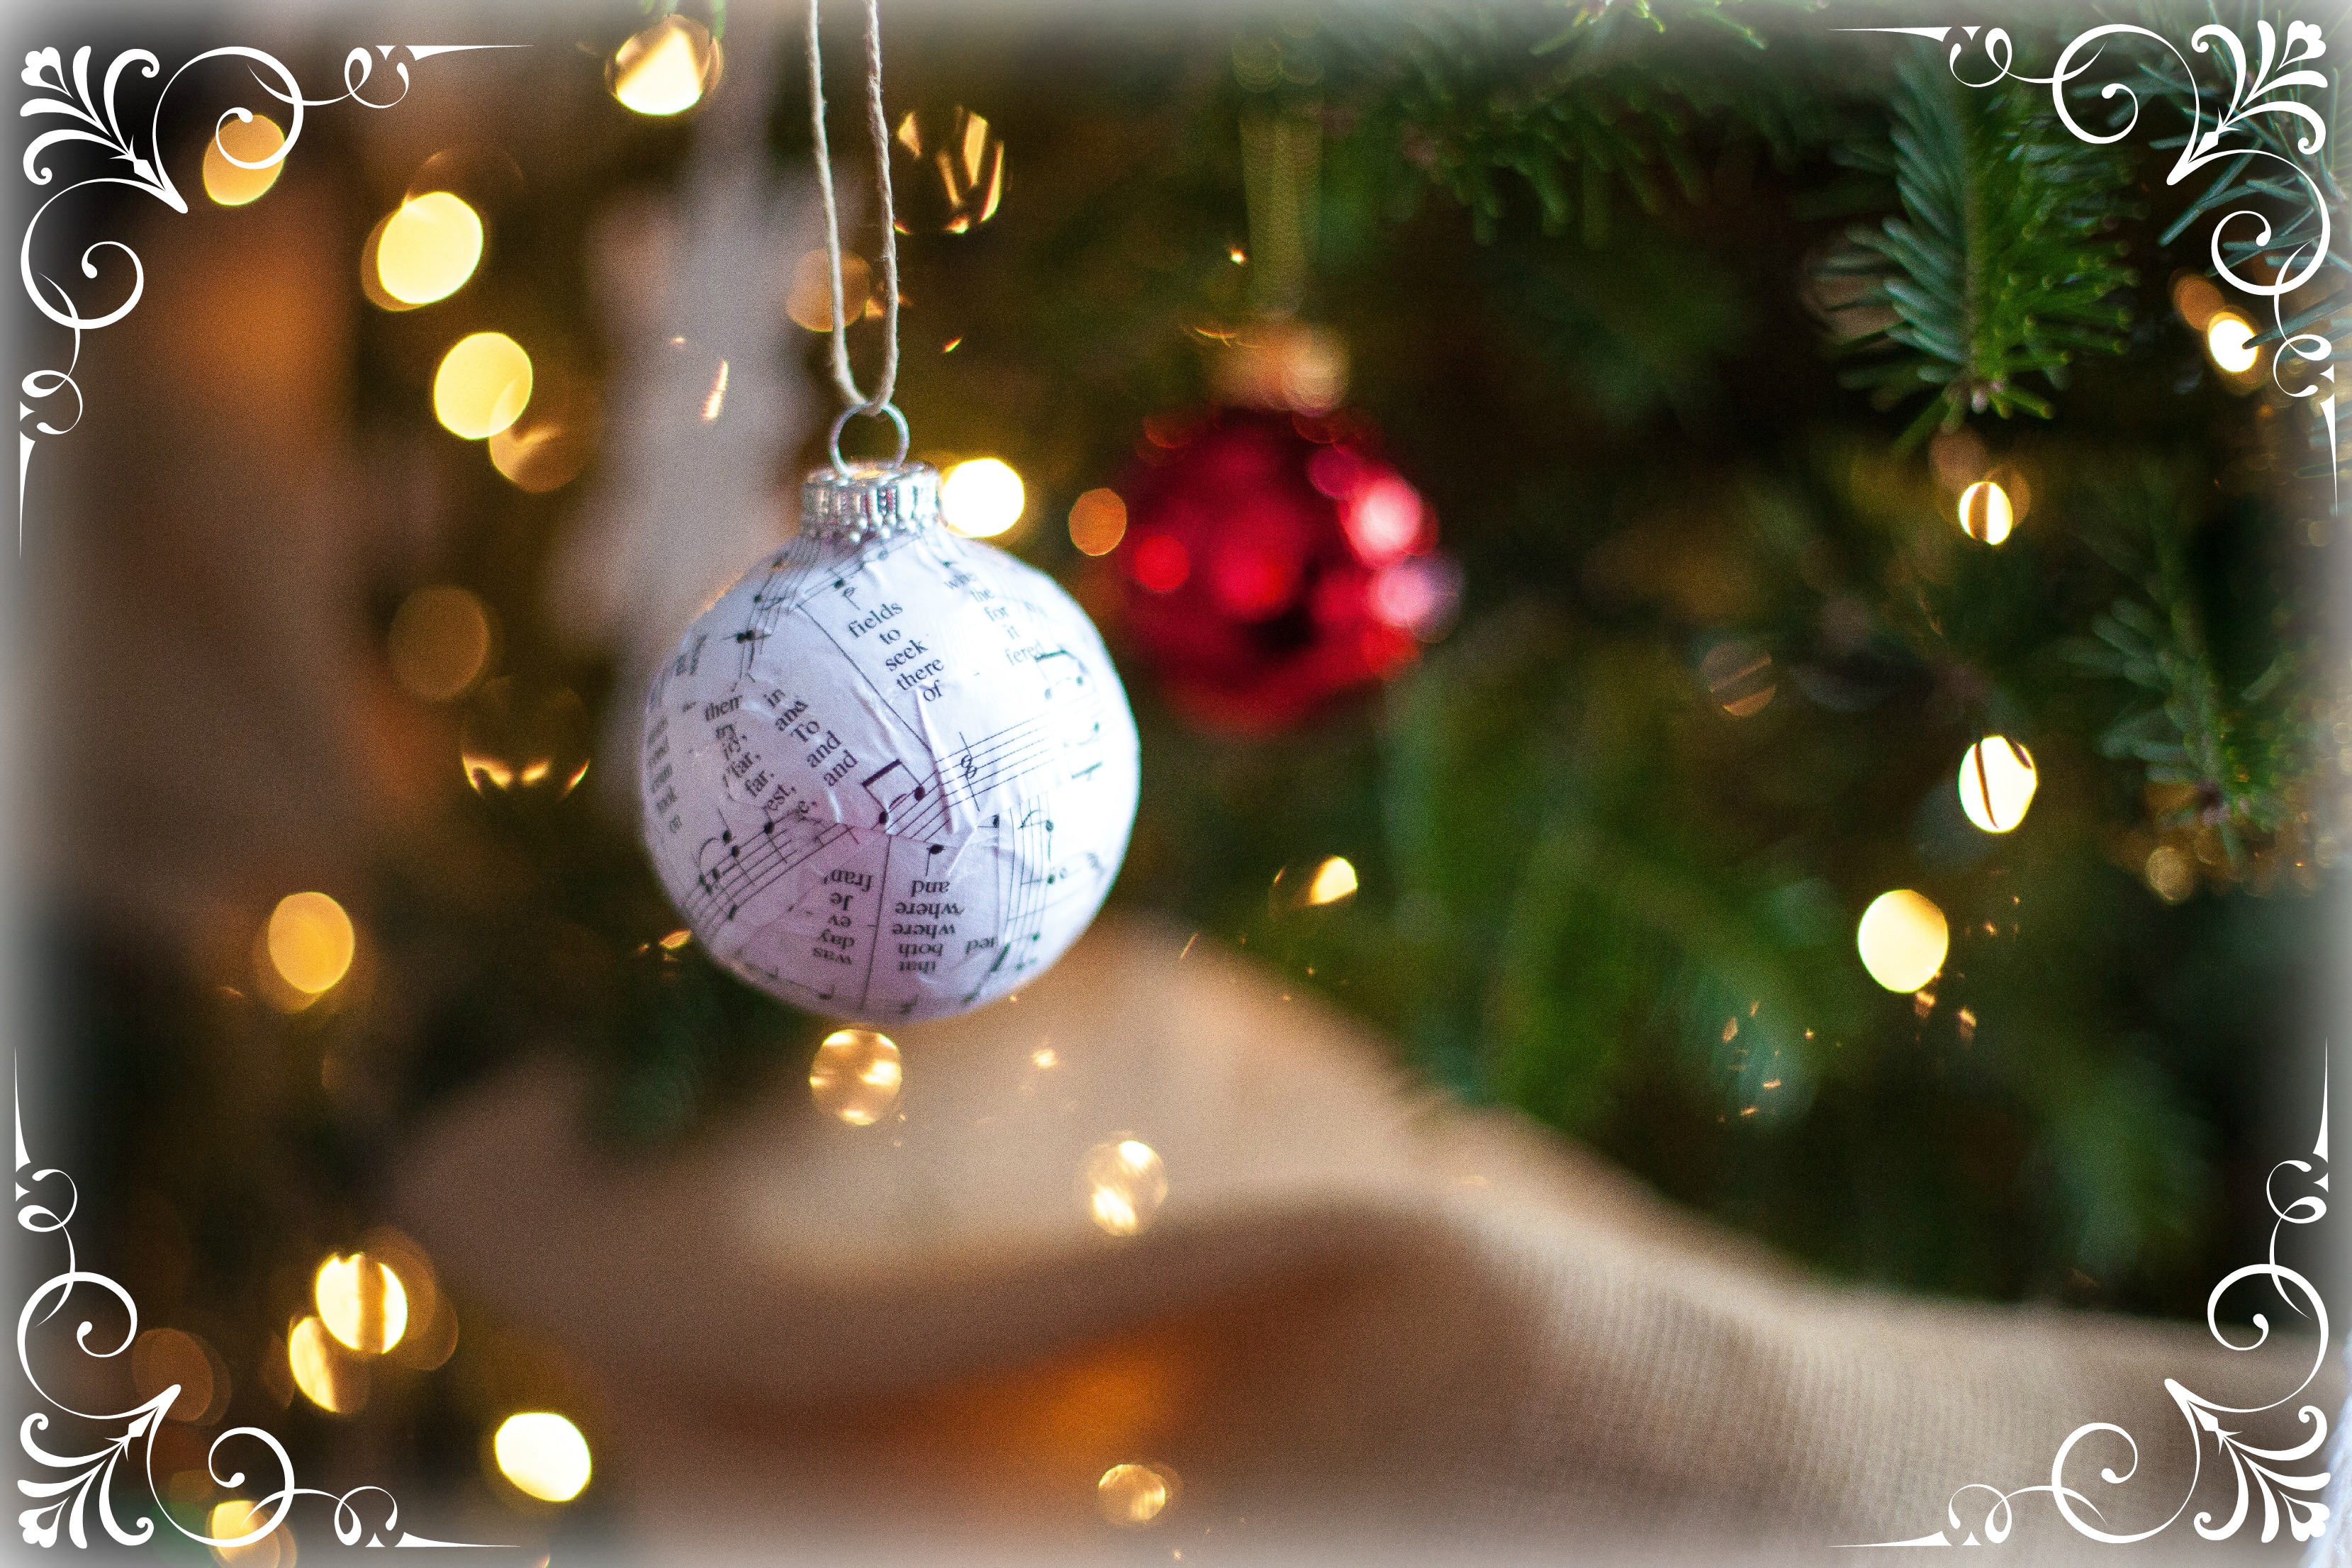

My husband and I bought some cheap Christmas ornaments the first year we were married. Now five years later, they are starting to look a little sad. The paint is chipping off of them and they have all but completely lost their luster. They have been our faithful friends the past several years, so it is kind of hard to give them a burial in the trash can.
Thankfully, I was inspired to try my hand at a little face lift, and I believe the results were wonderful! Christmas music is one of my favorite holiday traditions, so this was a great way to incorporate something I love into these “new” ornaments.
Materials:
- Old ornaments that have lost their shine (or one’s you don’t really like any more… I understand, tastes change through the years!)
- Mod Podge (I used high gloss)
- Christmas sheet music (I used THIS website to print my favorite holiday carols)
- Scissor
- Paint Brush or Foam Brush
How to:
- Remove the top from your ornament (if possible)
- Cut the Christmas music into small pieces (vary the size and shapes for the best effect – circular and angular cuts)
- Using the paint brush, apply a generous amount of Mod Podge to the back of one of the pieces of music. Just to warn you, your hands are about to get very messy!
- Using your fingers, rub the piece of paper onto your ornament, working all of the edges down. You will find that the paper will crinkle and fold as you work your way around a round ornament – this is OK!
- Continue to apply pieces of paper in the same fashion, but overlap them as you apply them to your ornament.
- Once you have the entire ornament covered, apply another layer of Mod Podge all over the ornament.
- Place the top of the ornament back on and hang to dry.
A little side note, try not to rub too much because the paper will begin to flake off if you do.
I have also seen beautiful ornaments made from holiday cards. I get so many wonderful cards with glitter and sparkles and instead of displaying the card the following year i have created ornaments out of them, whether by tracing a shape or mid pidgeon onto an old ornament
That is a wonderful idea Olivia! I may need to try that with my Christmas cards this year 🙂