
What a fun time of year! If you haven’t already, I’m sure you are planning a pumpkin patch trip local to you 🙂 I know we are!
We usually do a pumpkin trip around the first of October, and then spend a day roasting them off to make up pumpkin purees for the season. Everything from bread to soup, pancakes to muffins – pumpkin purees work beautifully for these!
We ended up picking up a couple from the local grocer before the season really started at local patches – just so I could work on a couple posts in a timely manner for you to get some ideas for your fall pumpkin recipes!

We only did one of the pumpkins on this day. It ended up being all I had time for since it was pretty big, and I don’t have a very large blender – my small mini food prep processor takes a lot of batches, but it works! If you have a real blender or food processor it will go much faster than it does for me! Ha! But with just one pumpkin done I got 10 cups of pumpkin puree!
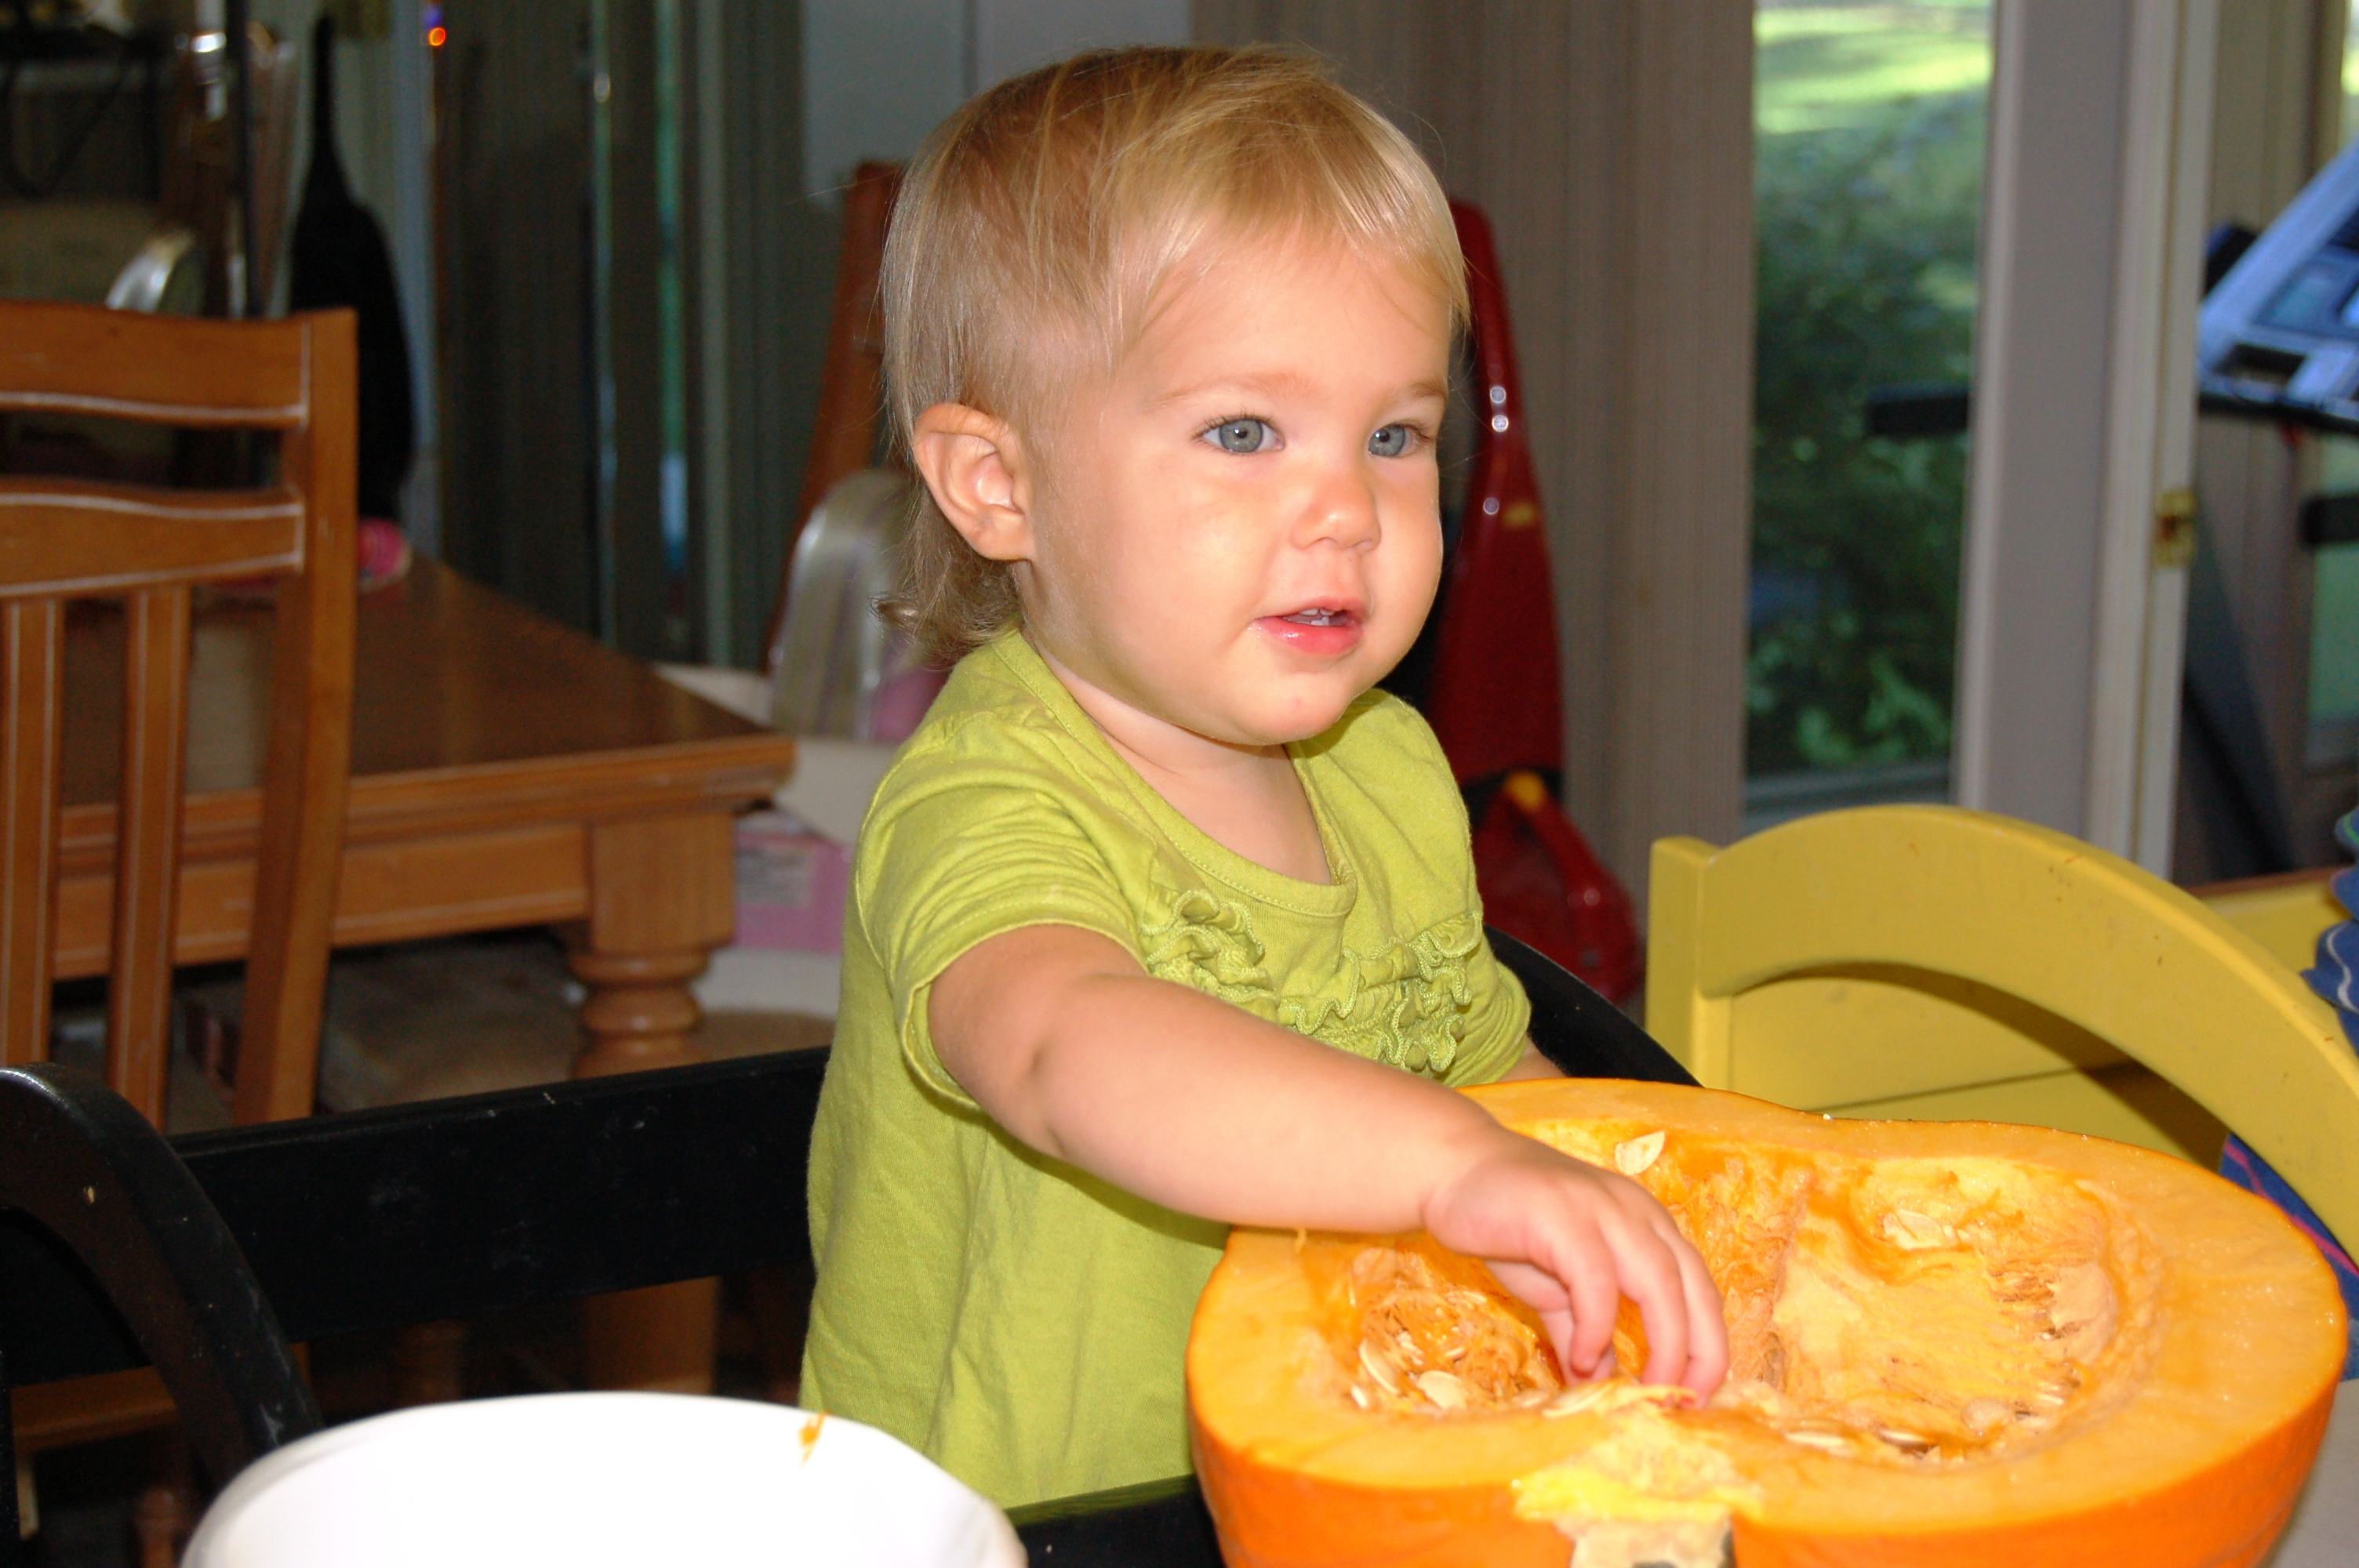
I usually go for the milder, larger pumpkins. As cute and delicious as those sweet little sugar/pie pumpkins are, they are just more expensive per pound. If you have access to the smaller, sweeter ones, go for it! The process is the same!
So here’s how I batch up pumpkin puree for the season!
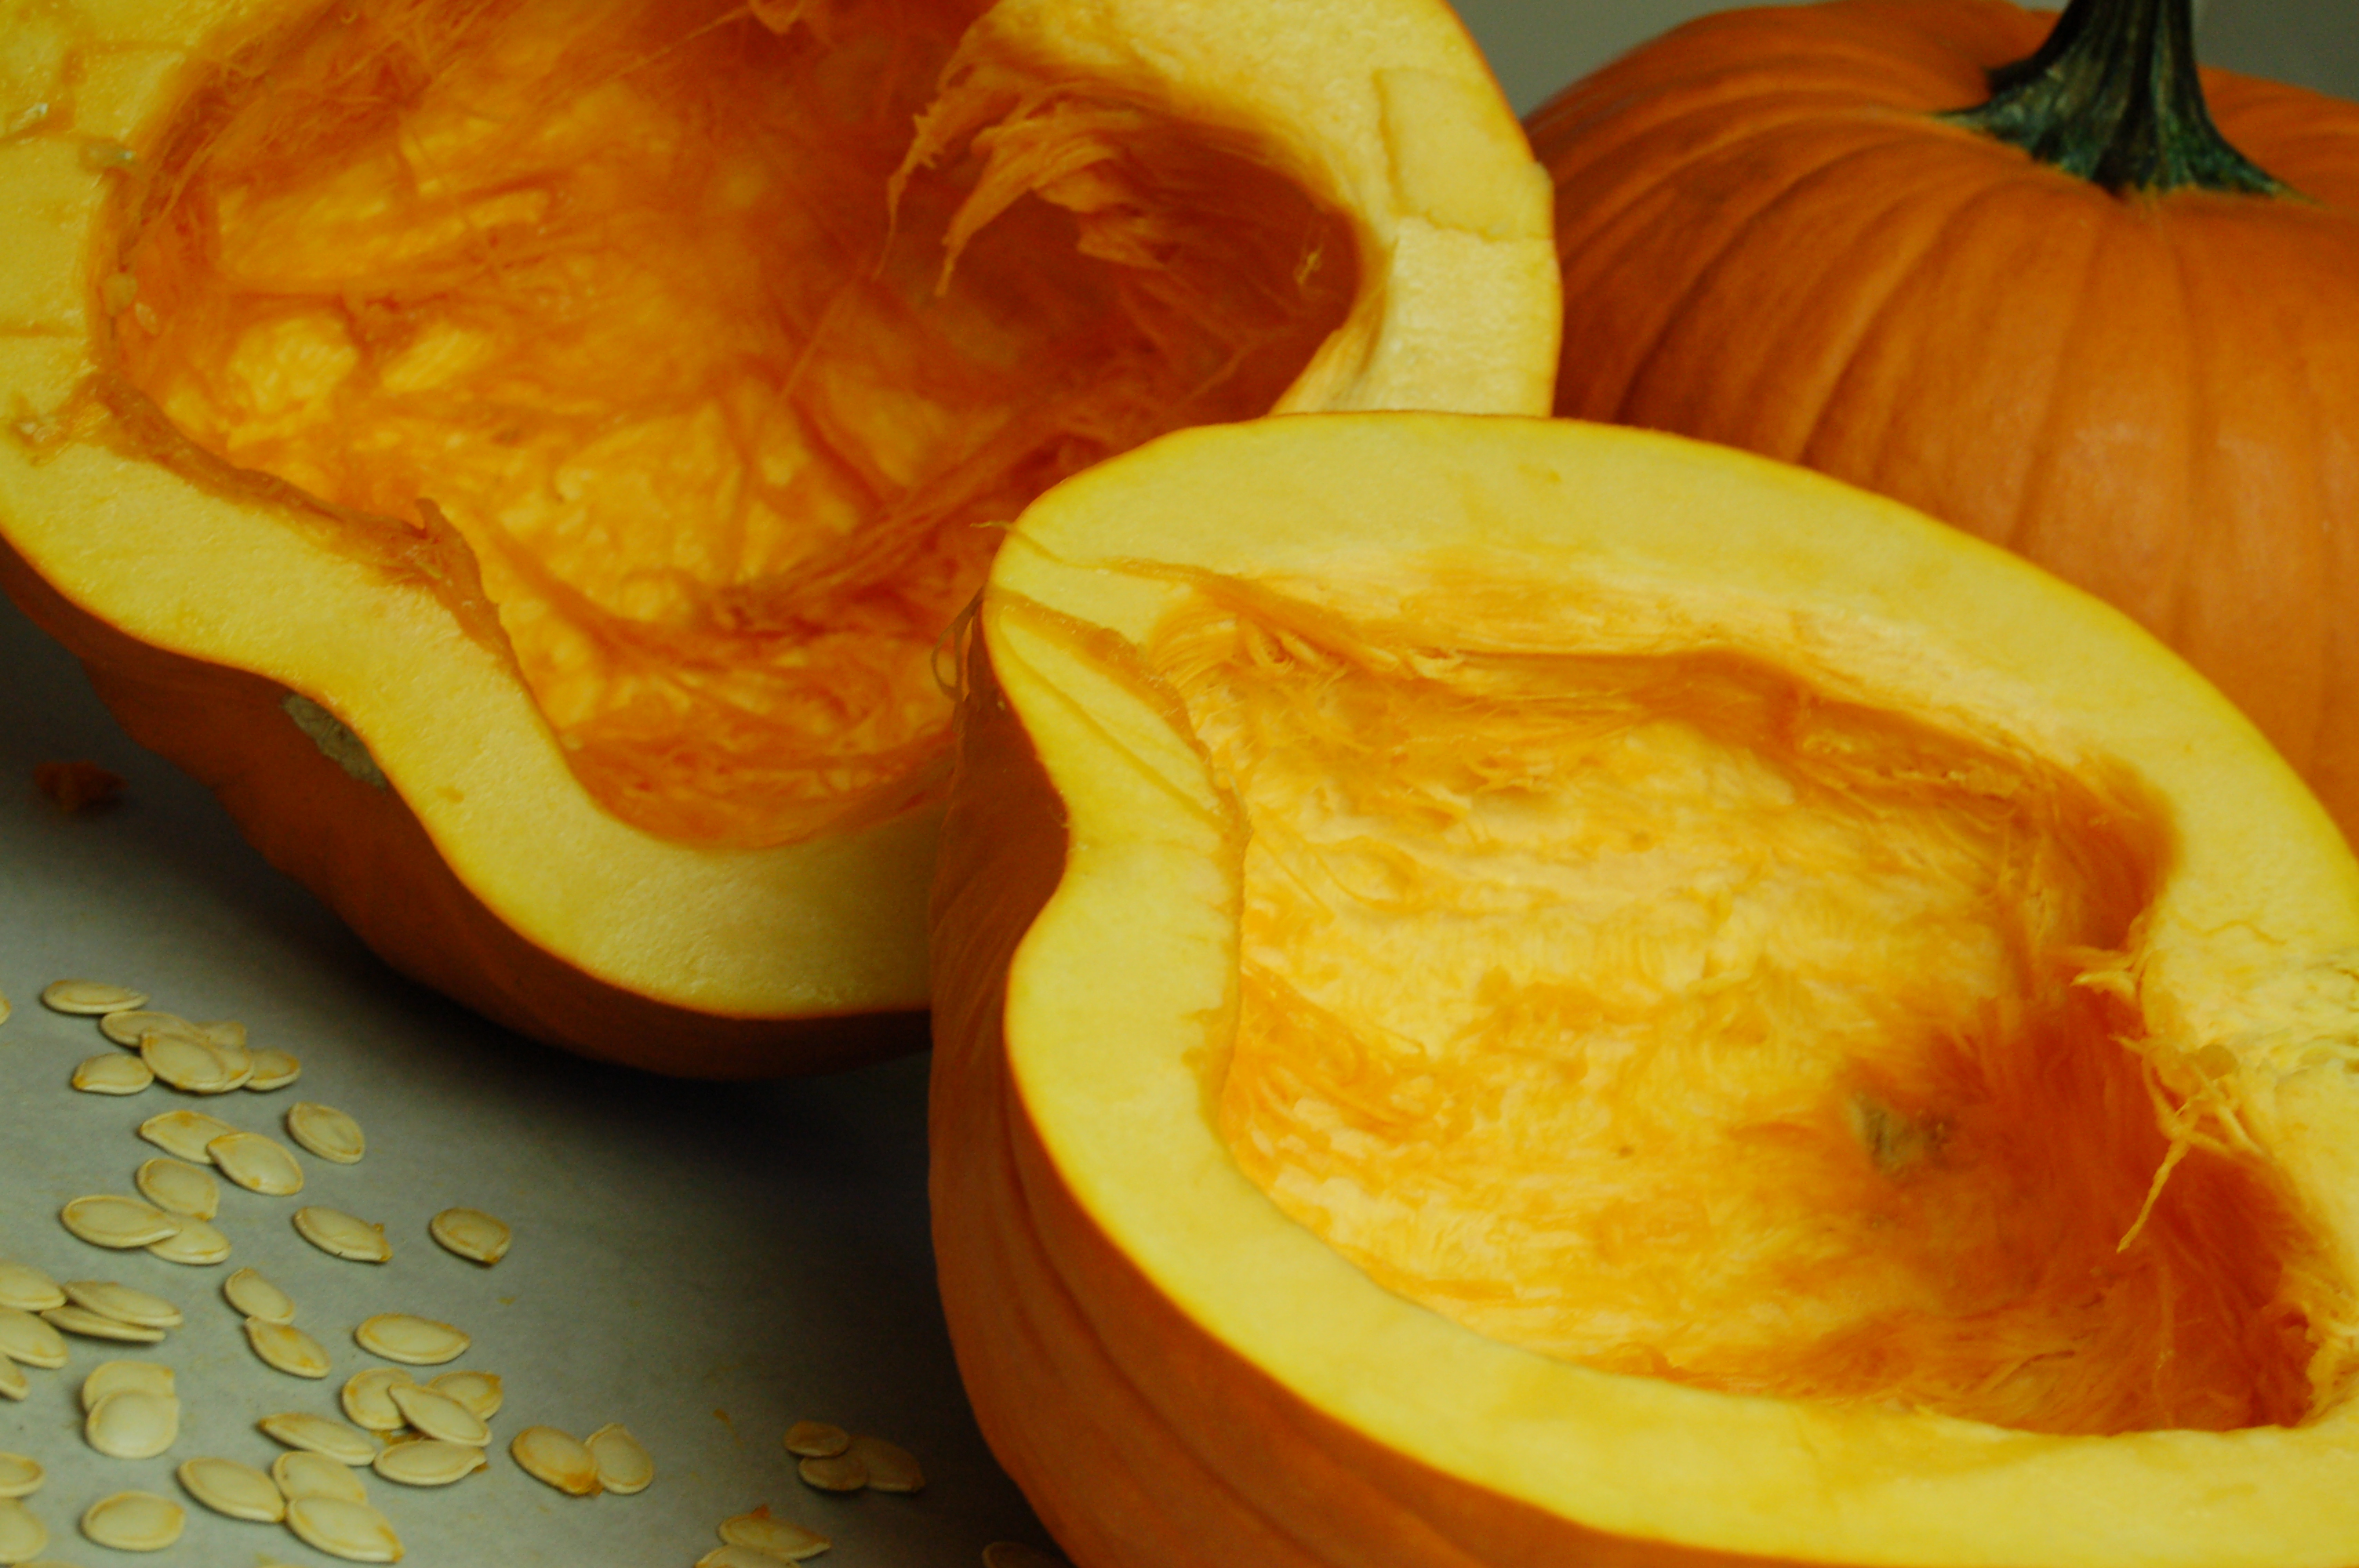 You’ll need:
1 large pumpkin
Filtered water for the bottom of the baking dish
- Preheat oven to 425 degrees
- Cut the pumpkin in half and scoop out the seeds.
- If using a larger pumpkin slice in smaller chunks to fit FLESH DOWN in your baking dish. I ended up using THREE baking dishes to fit my one big pumpkin!
- Fill the bottom of the baking dish about ½ inch of filtered water.
- Roast 1 hour to 1 hour and 15 minutes.
- Let the pumpkin cool before pureeing in a blender or processor.
Kitchen Tips:
- If you are doing a smaller pumpkin or smaller amount you could get away with 400 degrees.
- Save the seeds! I’ll show you how to soak and dry them out at the end of this post! So yummy to top pumpkin soup or make pumpkin granola! They are also the perfect snack for before trick or treating to fill their bellies with something nourishing before all the junk!
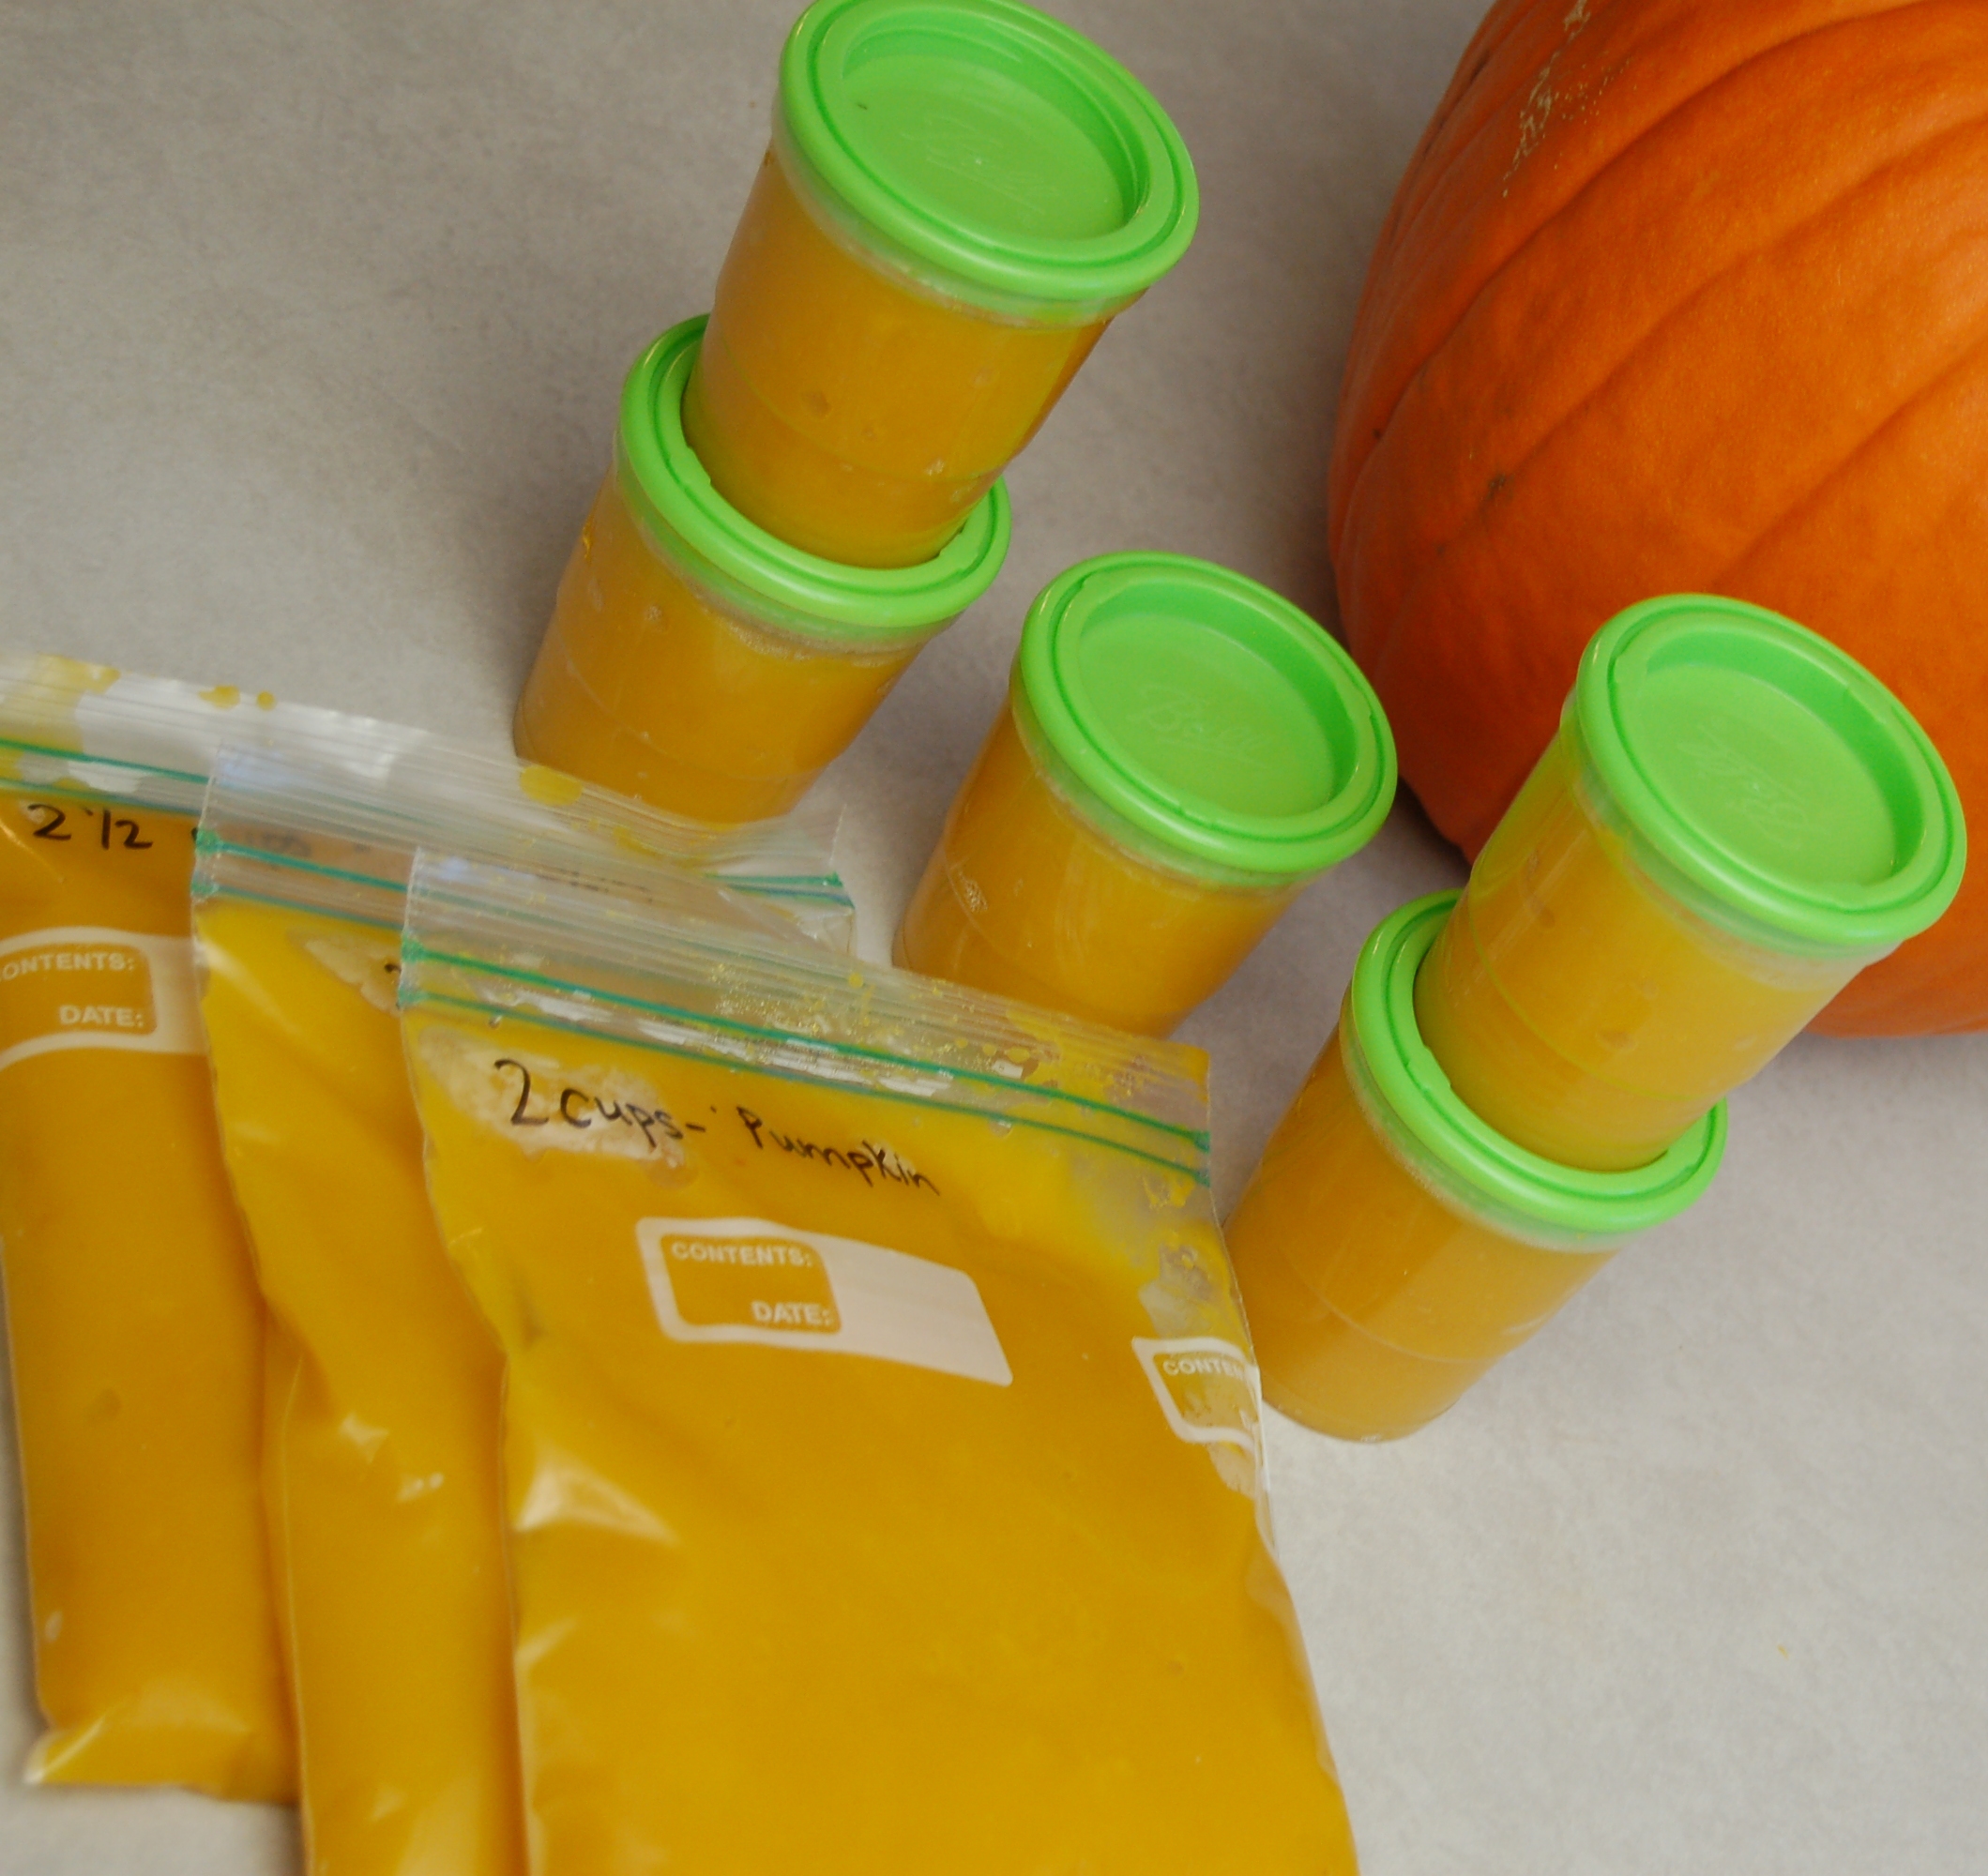
 I store some of my purees in these cute little Ball containers – they hold exactly 1 cup so I don’t even have to measure. Most recipes like breads/pancakes/muffins only call for a ½ cup to a cup of pumpkin so it works nice for them!
- The rest of my purees I store in 2 cup portions laying flat in freezer bags. My pumpkin soup recipe calls for 4 cups of pumpkin – so I can either do a half recipe (1 bag) or a full recipe (2 bags).
- As slowed as I am having to do smaller batches of pureeing it really only took me about half hour to puree start to finish including clean up 😉 No biggie!
CRISPY PUMPKIN SEEDS!
You’ll need:
Seeds from your pumpkin(s) cleaned of any pumpkin flesh. (A little is ok!)
2 TB sea salt for soaking
Filtered water to cover seeds during soaking
3 TB butter or coconut oil
Sea salt for sprinkling in the drying process
(Optional – pumpkin pie spice or savory spices to flavor your seeds as you wish! I usually don’t because I use them in recipes but if you plan to just eat them straight up it would be fun to season them in a fun way!)
- Soak the seeds 7-12 hours in a bowl with 2 TB sea salt and filtered water to cover (they will float but make sure there is enough water to let them swell a bit!)
- Rinse after soaking and lay the seeds out on a baking sheet covered with silpat or parchment paper.
- Mix the seeds around with melted butter or coconut oil and sea salt.
- Dehydrate in your oven at the lowest setting (mine goes to 170 degrees). Stir occasionally until dry and crispy – will take about 4-5 hours. You can do a couple baking sheets at a time if you have a lot! If you have a dehydrator (LUCKY!!!!) you can dehydrate in there according to your manufacturer’s instructions.
- If you wish to do the roasting seeds method you can go a higher heat for shorter time – I go with dehydrating to maintain the integrity of the oils and properties of the seeds. They are just as crispy and delicious!
- Store in airtight container – If I am doing a bigger batch I keep them in the fridge to keep from going rancid. If I’m using them right away I don’t worry about it.

YOUR TURN!
What recipes will you be using pumpkin in this year? Let me know if you have never done this method of batch cooking before and try it! Would love to hear from you!
Stay tuned! I’ll show you my favorite pumpkin soup and pumpkin bread recipe later this week!
This post was shared at Real Food Forager’s Fat Tuesday, Real Food Freaks Freaky Friday, and Too Many Jars In My Kitchen’s Fill Those Jars Friday!
Fantastic! I’m going to try tweaking what I already do with some of your suggestions 🙂 thanks Renee!
Great Heather! Let me know how it turns out!
I need to do this soon. 🙂 I love fresh pumpkin purée!
Hi Mindy 🙂 Would you believe I’m almost out of this batch I made?! Ha! I have another pumpkin up on the counter I think we’ll do up sometime this week. I used all the seeds in granola too so I didn’t even have much of that to munch on!
Do you peel the pumpkin or throw the whole thing into the blender?
Hi Brilana 🙂 I scoop out the flesh and toss out the skin! If you have a compost the skin would go in there fantastic 🙂