I have become a huge fan of Let’s Resin’s Silicone Molds! Last week I shared their Domino Silicone Mold and I couldn’t wait to try their Silicone Flower Mold this week. I do have to admit I was intimidated by the size of the Flower Tray Mold, but I plan to tackle it next week. That will have to be a weekend project , but the coaster I was able to make within few minutes. This simple DIY :: Resin Flower Coaster is so simple a beginner can use it.

Package Included:
1 x Large Flower Tray Molds
2 X Small Flower Resin Molds
A pair of golden handles
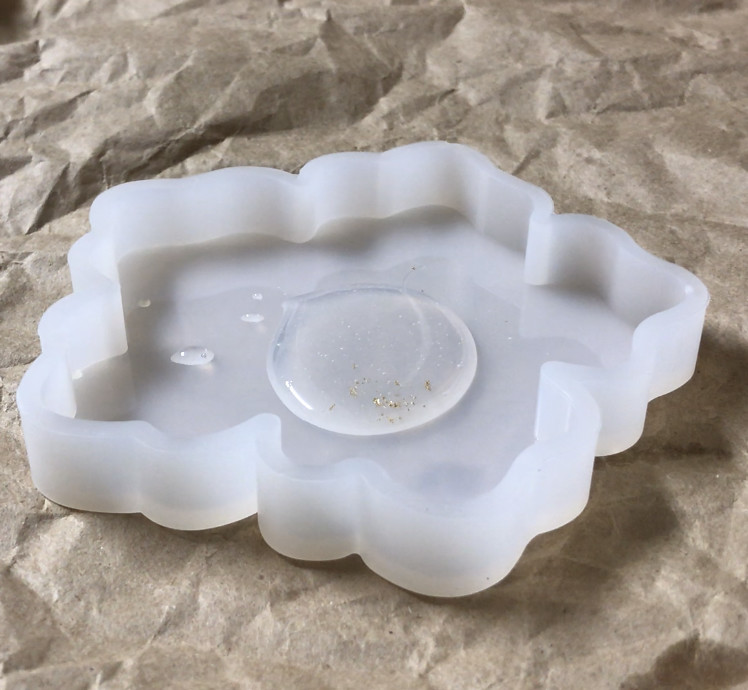
STEP 1 :: I rinsed my mold with water before I began pouring resin to make sure the mold was few of dust.
STEP 2 :: Next I measured out equal amounts of Part A and B resin. I combined the mixtures and stirred the resin.
STEP 3 :: I poured the resin into the mold then separated the remaining resin into three small disposable cups.
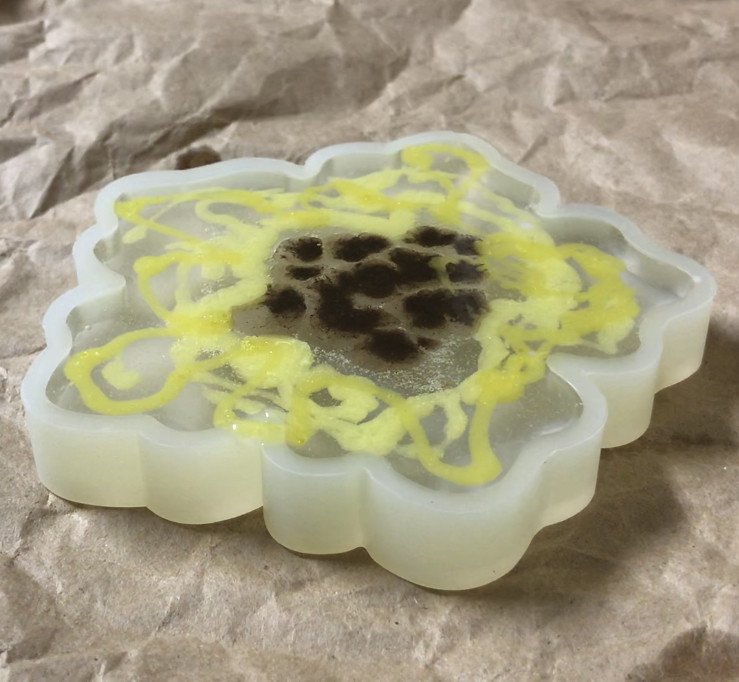
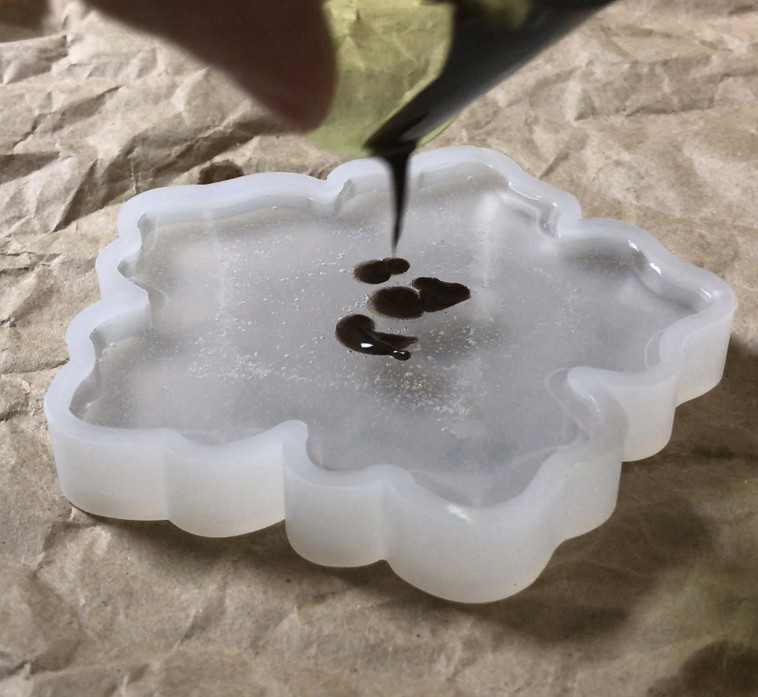
STEP 4 :: Once all the cups had resin I distributed the colored pigment into the cups. A brown for the center, light yellow, yellow, dark yellow and orange. I also used Let’s Resin’s Gold Leaf and glitter to give the coaster some shimmer.

Now all you have to do is wait for it to harden to be able to take it out of the mold. Once you are finished with your mold wash it with mild soap and warm water. Although it turned out pretty I would probably use less pigment for this process so that I can see through the flower more, but that is entirely up to you when designing your own Resin Flower Coasters.
Will you be trying this Resin Silicone Mold?

connect with Let’s Resin ::
Official Website | Facebook | Instagram | Pinterest