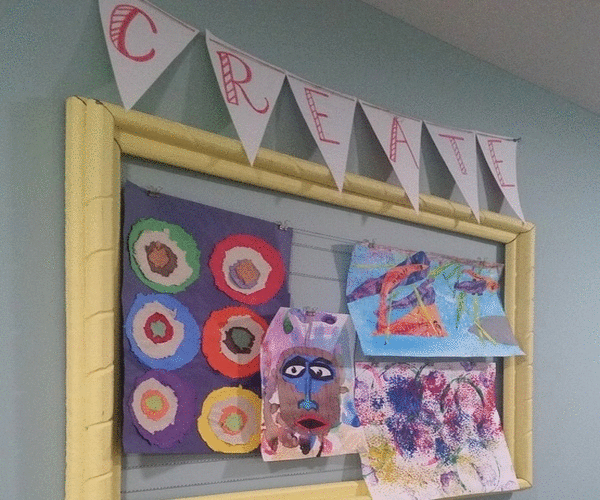
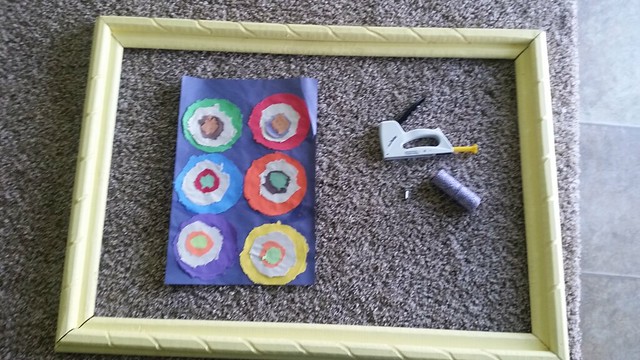
I am a firm believer in second chances! That’s why I love thrifting and junking my little heart out. ❤ There is often a lot of life left in things that are donated or thrown away! So, if I happen to slam on the brakes while driving down the road, you can know without a doubt that something useful has caught my eye. One of my favorite finds to date is a massive brown frame that I picked up out of someone’s junk pile. It’s a large 2 x 3-foot frame and has become a treasured piece in my decorating scheme.
What started out as an ugly cast-off quickly became useful, and even adorable, in a matter of minutes with some cheery yellow paint and a few other things I had around the house.
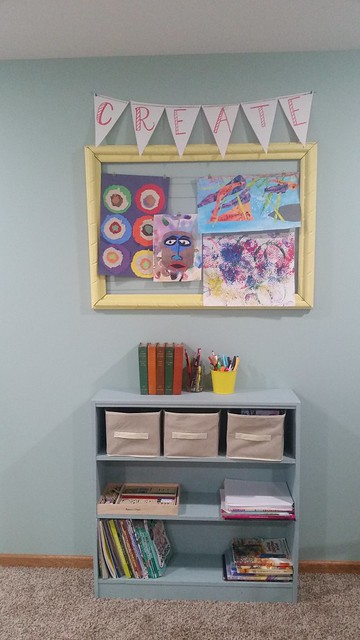
I’ve used it as a display for family photos, backed it with chalkboard paper for use as a family organization area, and recently turned it into an art gallery for my kids’ school creations!
You can do the same with a frame of any size. Smaller frames are perfect for stand-alone masterpieces (group several frames together for bigger impact!), and larger frames like this one can be used to clip several art pieces up for display.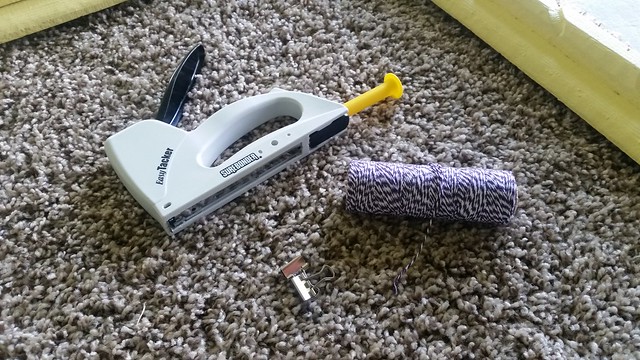
Here’s what ya need…
- Empty Frame (check goodwill and other thrift stores, yard sales, etc.)
- paint in your choice of color
- baker’s twine or yarn
- staple gun, glue gun
- binder clips or small clothespins
(If you’re in the market for a staple gun, Hobby Lobby has some nice inexpensive options and most come with some staples to get you started as well. Once you try it, you’ll be hooked…I use mine for a TON of DIY-ing!)
Here’s what ya do…
It’s super simple to construct an art gallery once you’ve got your supplies… First, paint your frame. Unless you’re happy with how it looks to begin with! But most likely you’ll want to pick a fun pop of color to complement your little artist’s creativity. Next, just measure out your lengths of twine and staple horizontally along the back edges of the frame. You could also use a hot glue gun in a pinch to attach the twine! Then, hang it up and start clipping your kids’ artwork onto the twine with binder clips or small clothespins. You can play around with it, either creating a layered look or keeping it streamlined.
That’s it!! Easy peasy, but so fun and functional in your craft room, family space, or anywhere else you need a little color and creativity up on the wall!
Very creative! I like that idea