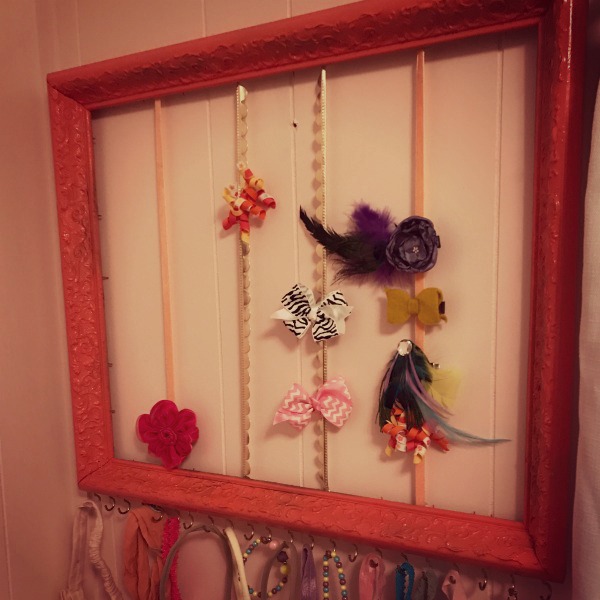
Our latest room renovation in our old farmhouse is our little girl’s room! I love how it turned out and more than anything I love that we have a place for her things now! Sharing with her brother was working out just fine, but because I knew eventually she’d have her own space, I hadn’t figured out permanent organization and storage for her things. We refinished a dresser for her room that I just love, and I made this bow holder for her clips, bows, headbands, and necklaces! After searching for some different ideas and searching our house for some old frames, I love the way it all came together! Here’s a little step by step on how I did it!
1. Finish/Paint an old frame.
Choose a frame. Either buy a new one or use one you have around. It doesn’t need to have glass or any kind of backing. Paint or stain it to fit your décor. I found an old frame that the glass and back was already out of. I used a 16×20 frame so that it could fit our ever growing collection of bows. Our little girl’s room is coral and gold, so I painted the frame coral. It was really easy to do! You can go with any color or even stain a wood frame depending on the look you are going for.

2. Staple ribbon or fabric to the back of the frame.
Choose some ribbon or fabric to clip bows to. Thin ribbon works ok for smaller clips, but if you are using larger bows I recommend a thicker ribbon. Turn the frame upside down so you won’t be to see the staples. Staple one end and pull the ribbon as tight as you can and staple the other end! I ended up with four ribbons, but depending on the size of your frame you could do more or less.

3. Screw hooks to the bottom to hang headbands and necklaces.
Find hooks to screw to the bottom. Size will depend on the size of your frame. Drill a pilot hole for each and then screw them into the bottom. Space them evenly with however many you think you will need!

4. Hang on the wall.
There are a couple different options for this, but we just used a basic wall mount on the back. I’ve seen some pretty options with ribbon and a bow on top too!
I hope you enjoy this and maybe make your own for the little lady at your house! It’s one of the first things she points to when she wakes up in the morning! Even if she’s only one, she loves her little bows and necklaces already.
