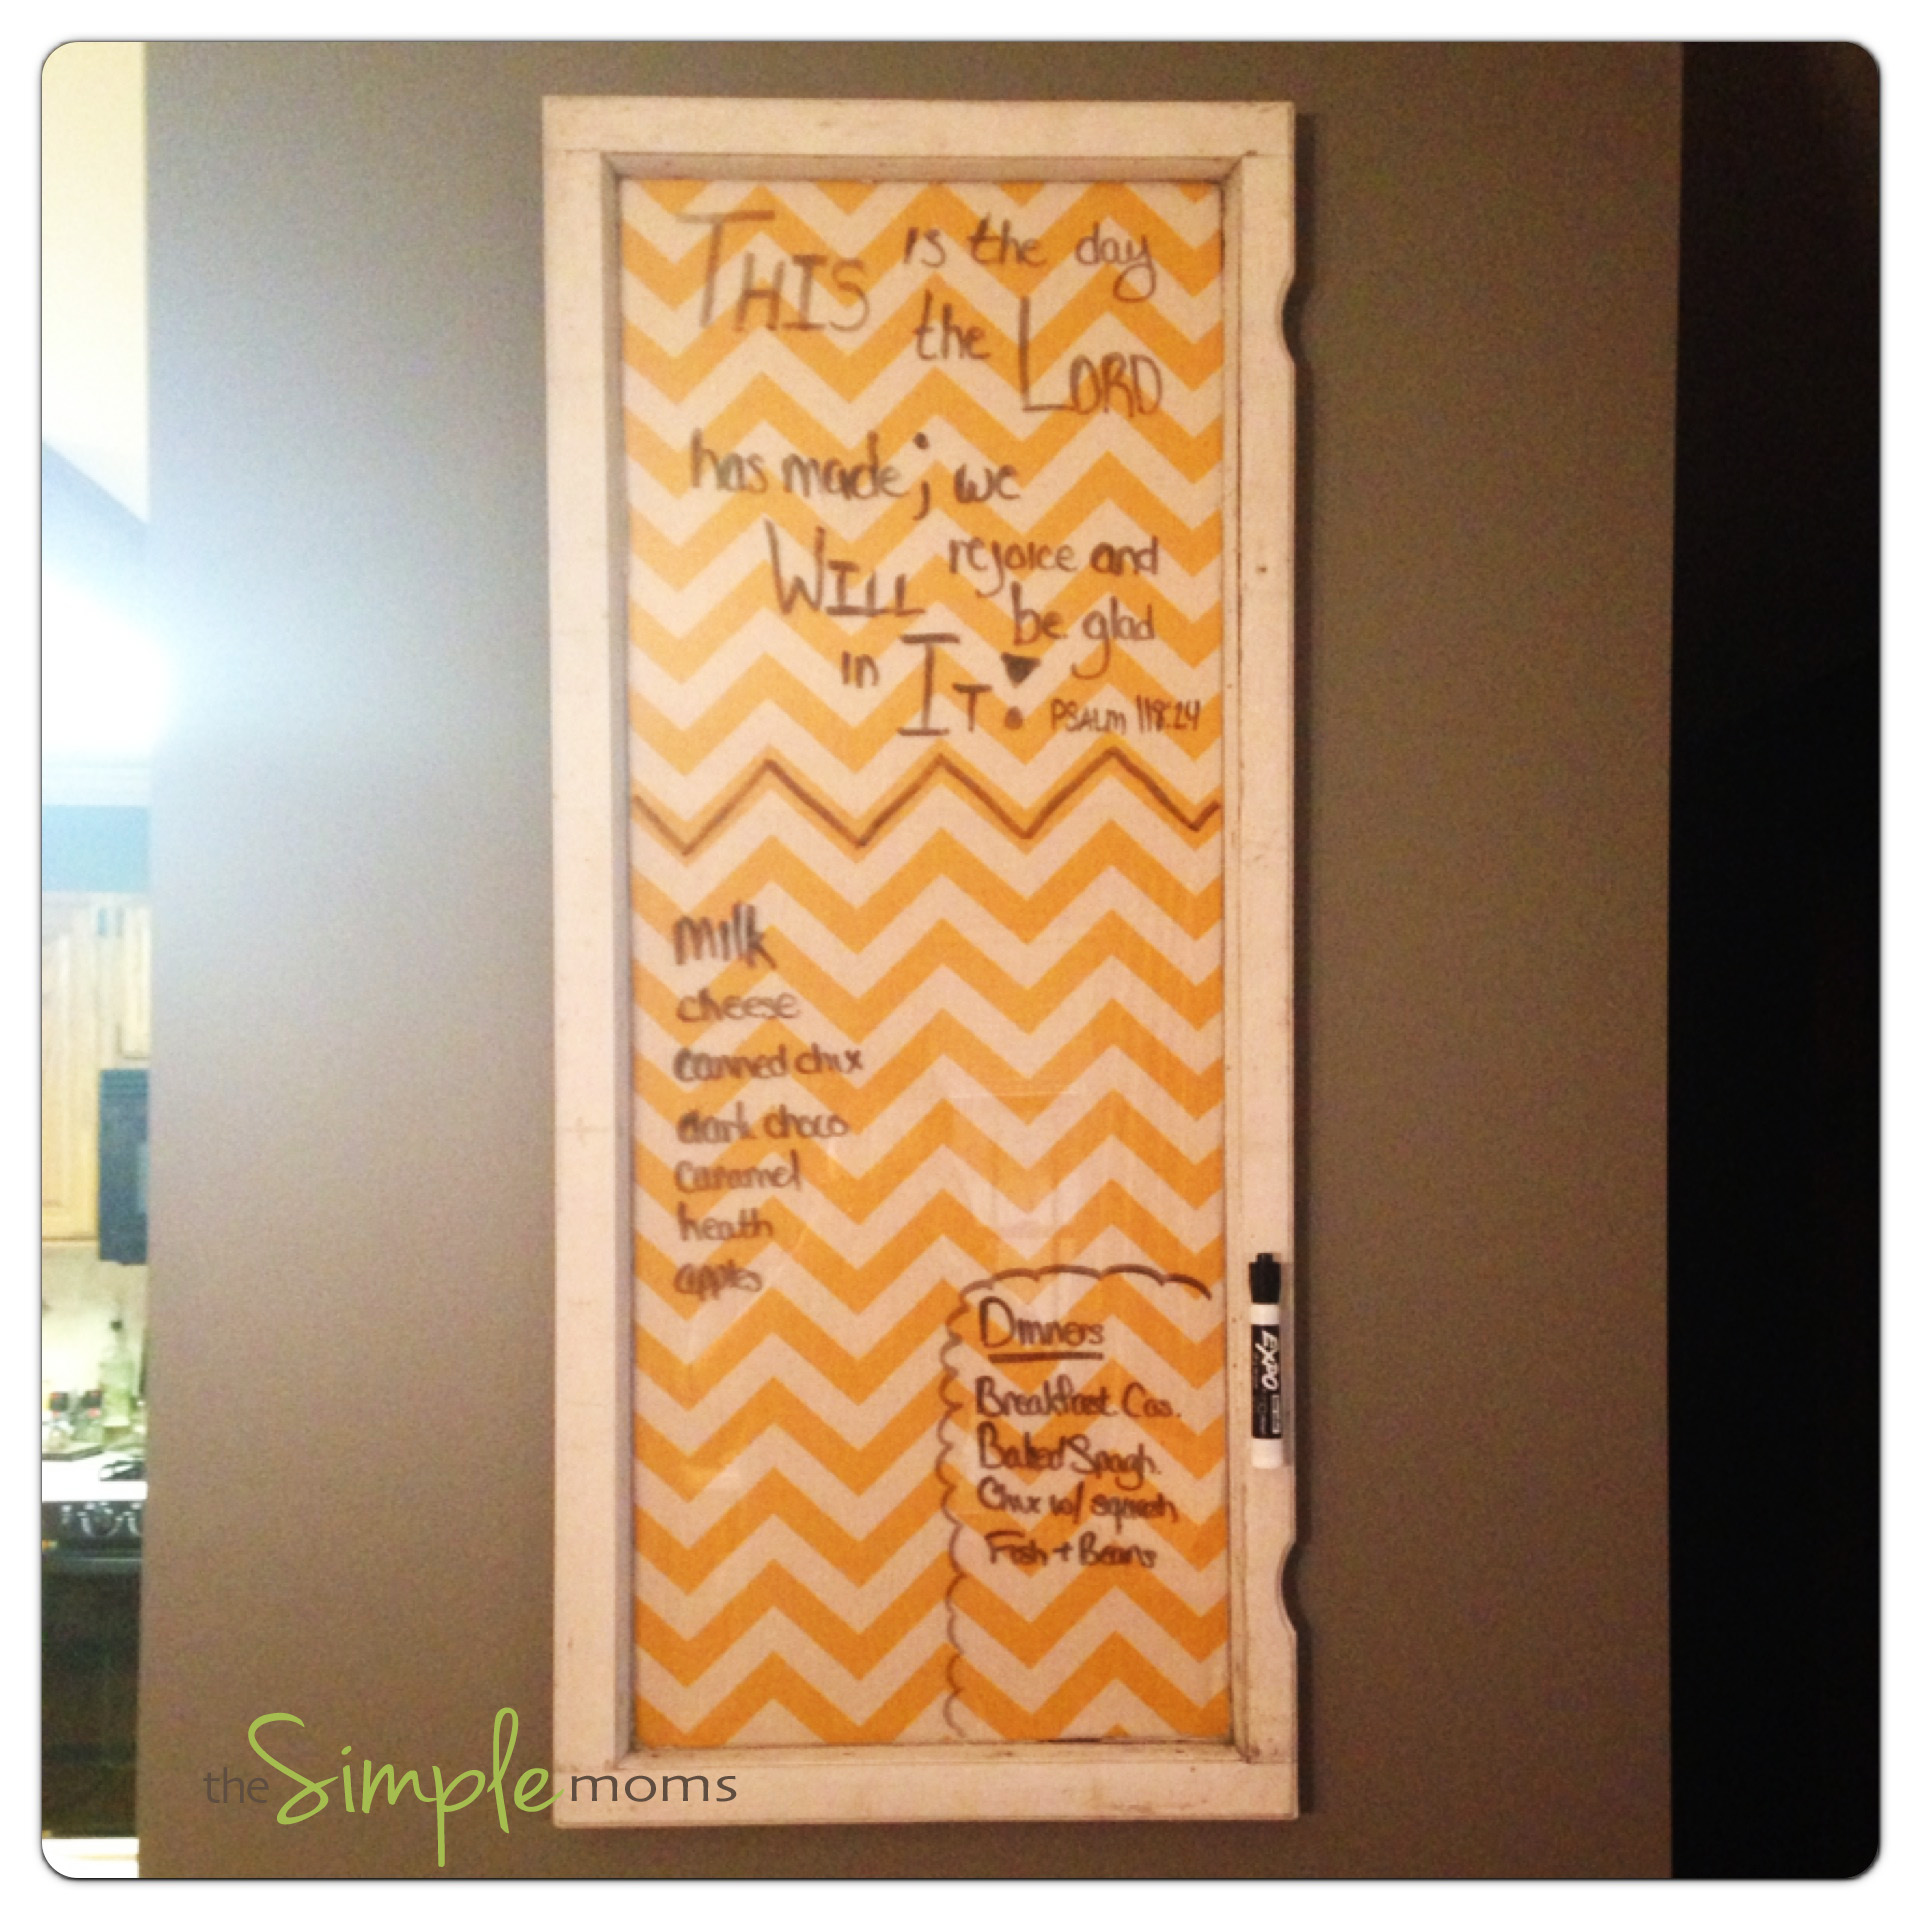
 My husband has been begging me for a dry erase board for a couple years now, but I just could not bring myself to purchase a white board to hang on my wall and take up precious “art” space.
The other day I was looking through some of my antique windows that I rescued from an old corn crib… and I got inspired! Why I did not do this years ago when my husband first suggested the dry erase board is beyond me!?
This board was SO easy to make. It looks great AND it is very functional! Now I have no excuse when it comes to forgetting something. All I have to do is write it down as I walk by.
And when it comes time to grocery shop, I simply snap a picture with my phone and off I go!
You probably all have a dry erase boards somewhere in your home, but this is something I am super excited about and thought I would share it with those of you who may be like me and have never considered the possibilities! 🙂

DIY Dry Erase Board (see pictures below for detailed images):
- Find and old window that you love.
- Make sure you wash the window well, but be careful if you chip off paint because it probably contains lead!!
- Cut a piece of cardboard the size of the glass in your window.
- Using a piece of fabric (I chose to use Duck Cloth because it to a sturdier piece of fabric), cover the cardboard. I have a staple gun, but the staples were too long for this project. I actually ended up using a normal paper stapler to attach the fabric 🙂
- Tuck the fabric covered cardboard into the back of your window.
- Use tiny tacking nails to secure the board to the window
- Attach hardware to hang the window – be sure to use hardware that can hold the appropriate amount of weight.
- Hang your window on the wall where you would like it.
- Apply a small strip of hook and loop fastener to your dry erase marker and window frame. Be sure to put the “loop” side of the fastener on your marker. You want to be holding the soft side 🙂


Voila! You are done!
Hope this project is as fun and easy for you as it was for me! Happy crafting!
That’s great Shanda! I will be adding this to my diy list of things to try someday.
Good luck with it! I seriously use it every day… It has really helped me get my thoughts organized as I’m shuffling around the house throughout the day 🙂